


Download Zip Here
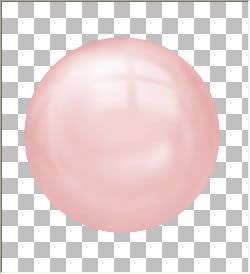
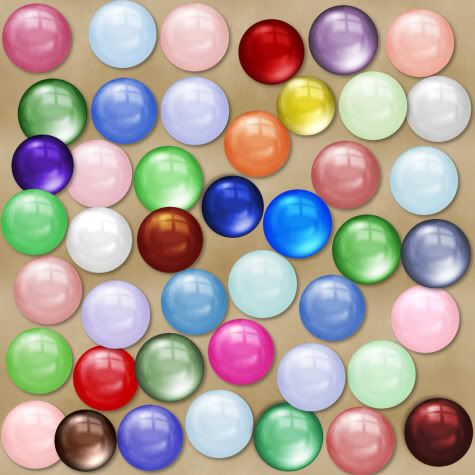
From this one pink bead I had made, I played around with adjusting the colours and the results are all in the picture below.
To get a darker version of the pink, in your layer palette to the right, right click on your bead layer and from the flyout choose "duplicate". You will now have a copy of your new bead layer above your original layer.
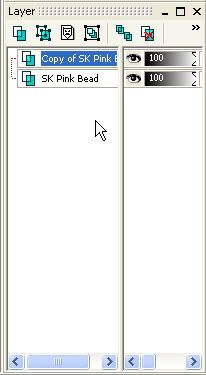
Make sure your "Copy of SK Pink Bead" is highlighted blue, and change the "Blend Mode" to "Multiply". If you can't see where your blend mode is, just move the vertical divider line over to the left.

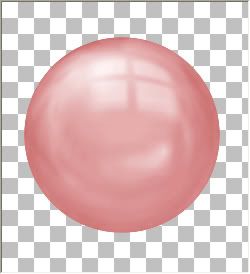
Your bead should be a darker version of the original, and look like the picture below. You can also try setting the blend mode to Screen, Overlay and Soft Light. Depending on the colour of your bead, it gives you different looks.
Now, just right click on one of your layers and from the flyout choose "Merge" then "Merge Visible".
After you merge your layers, you can also repeat the steps above, using different blend modes.
Continuing on working with this same bead we just changed, right click your new bead layer in your palette, and choose "New Adjustment Layer", then from the flyout choose "Hue/Saturation/Lightness". Put a checkmark in the "Colorize Box", and move the saturation slider up to about 50%.
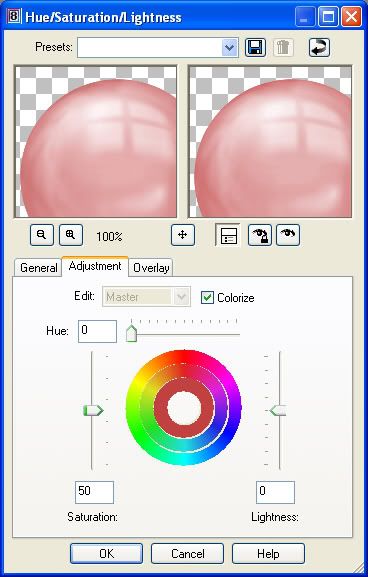
Make sure your bead is visable in the preview window, and move the "Hue" slider bar slightly to the right. You will see your embelishment change from it's original to a new colour. If you'd like to see what it will actually look like on your embelishment layer in your workspace, click the square button with the eye icon that's under your preview window. When you are satisfied with your chosen colour, click ok and merge the two layers.

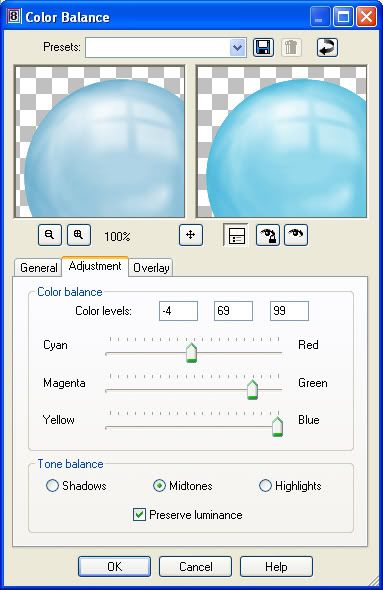
You can also change the shade of your bead by right clicking your bead layer in the layer palette, go up to "New Adjustment Layer" then to "Colour Balance", and just start moving the slider bars till you see something you like.
Head on over to my blog http://scrap-stuff-with-psp.blogspot.com/ to get all of these glassy beads and other fun stuff.


Thank you so much for this tutorial, it was really great!