


Supplies Needed:
Texturizer plugin which you can download HERE
My 3 cardboard jpg's. Download all from HERE
I'm using a simple rectangle shape for this tutorial. After you've gotten this technique down, you can use any shape you want. So that we match up, use a rectangle shape while doing this tutorial.
1. Open up a new transparent image.
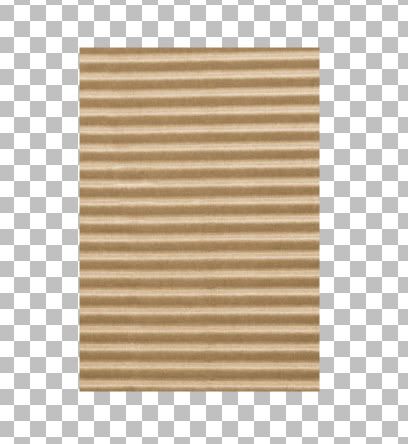
2. Set your foreground and background to SK Corrugated from the zip.
3. Click on your Preset Shapes tool and choose Rectangle, create as vector and anti-alias both are checked and a line width of 1.
4. Draw out a rectangle.
* We are going keep our image we just dragged out as a Vector image and duplicate our layer 1 more time.
5. In the layer palette, right click on Vector 1 and from the flyout choose Duplicate.
6. Open up 1 of the 2 paper jpg's from the zip. I'm using SK Cardboard Paper 02.
7. In the layer palette, click on the small + sign beside the duplicated layer. Under Copy of Vector 1 will be another title. Mine says Rectangle because that's the name of the shape I drew out. Yours may say something else if you used another shape.
8. Double click on the word Rectangle and a properties box will pop up.
9. Double click on the picture icon under the word Stroke. From the dropdown box, find either SK Cardboard Paper 01 or 02, whichever one you opened up from the zip. Click on it to select it then hit OK.
10. Do the same for the Fill box and hit OK when you have changed both of those to your chosen paper swatch.
* You should have 2 different layers now. One with your corrugated cardboard and another with your chosen paper from the zip. If it isn't, move your paper layer above the corrugated layer.
11. In the layer palette on the right, right click on each of your vector layers and from the flyout choose Convert to Raster Layer.
12. On your paper layer ( not corrugated layer) Go up to the Effects tab at the top, then to 3D Effects, then to Inner Bevel and use these settings:

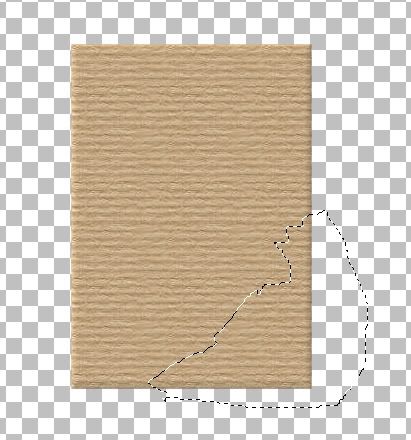
13. Click on your Freehand Selection tool on the left. Selection type is Freehand, Mode is Replace, Feather is 0, Smoothing is 0, and Anti-alias is checked.
14. If it isn't already, click on your paper layer to make it active. With your freehand selection tool, draw out where you want your tear to be. Here's what mine looks like:
15. Hit the Delete key on your keyboard. That piece we outlined should now be gone.
16. Go up to the Selections tab at the top, down to Modify, then to Expand. I've chosen to expand by 6, you may make your selection larger or smaller.
17. Click on your Lighten/Darken tool on the left. Default round brush, Size is 8, Hardness is 50, Density and Thickness is 100, Opacity is 32. Swipe down and lighten your image that is inside the marching ants selection. You can lower or raise the opacity to lighten more or less, but it looks good to me, so i'm going to keep it like that.
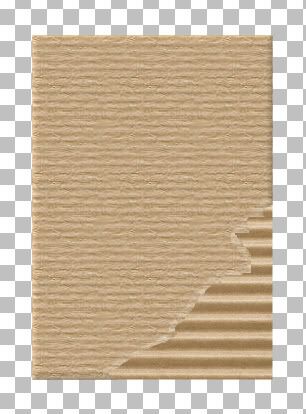
* Next we need a little texture on that section with the marching ants.
18. Go up to the Effects tab, down to Plugins, then find Texture, then Texturizer and use these settings:

19. Go up to the Selections tab and choose Select None.
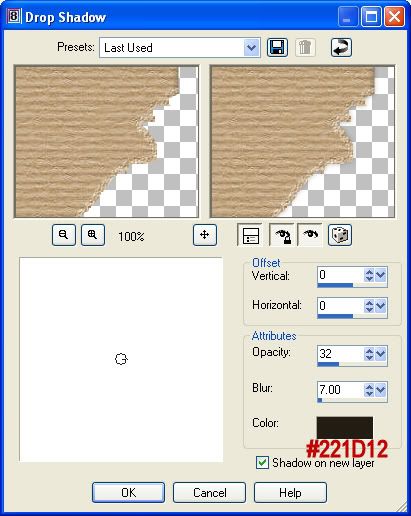
20. I like to put a barely visable drop shadow on this layer so go up to the Effect tab, over to 3D Effects and then to Drop Shadow and use these settings:
21. Get your eraser brush out and click on your layer that has the drop shadow on it. Erase all around the outter edges. We only want the drop shadow under our rip.
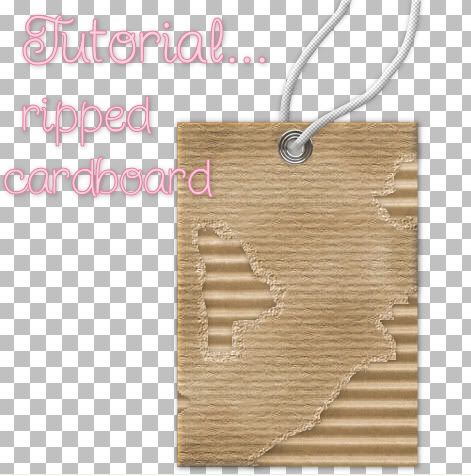
22. Basically your done. All you need to do is add an eyelet, erase the middle of it and add a string.
* I only made one large rip at the bottom, if you are doing more than one, ripping it all over in different sections, hold down your shift key each time you make a new rip.
You can also make it more beat up looking by lightening and darkening it in places. Start off with a low opacity of about 9, brush size about 45 to 53, Hardness of 50. Lighten it in places all over, then darken it in places you didn't lighten it. Change the opacity to about 13 and darken some of the edges and other spots on the tag or whatever image you have.
TOU:
If you do this tutorial, your end result is yours to do whatever you wish; give it away as a freebie, use it as part of a kit, or sell it for profit. You may not make this into an action or script to give away as a freebie or to sell for a profit. A mention or a link back here would be appreciated but is not mandatory. Please do not share the supplies or tut through email or any other means, send them here to my blog to get the supplies and tut for themselves.


Wow this is just a great tutorial!!! Is there going to be some bow tutorials too?? I sure hope so, cause you are really good!!
Thank you SO much!!
Hugs