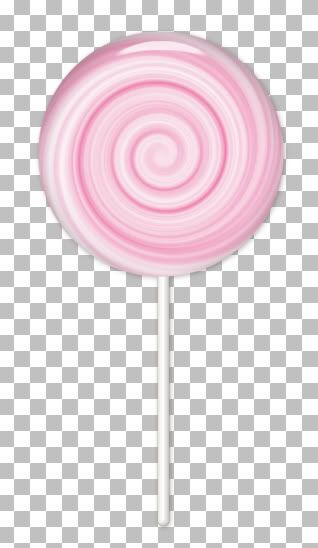
Supplies Needed:
MuRa Meister Clouds:Download Here
Eye Candy 5 Impact: Download Free Trial Here
Rounded End Line Style: Download From Here
Scroll down to where it says Tool Presets, and in the list of Styled Lines download the one called Rounded End.
1. Start out with a 400 x 400 image with a WHITE background.
2. Set your foreground to whatever colour you want your sucker to be. For this I am using this shade of pink #F08CB5.
3. Set your background to the same colour but a few shades lighter. I will be using #F5C8DA.
To give you an idea of the shading difference, take a look at the picture below.
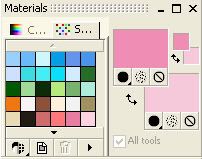
4. Go up to the Effects tab, down to Plugins, choose MuRa's Meister, then Cloud. Use these settings:
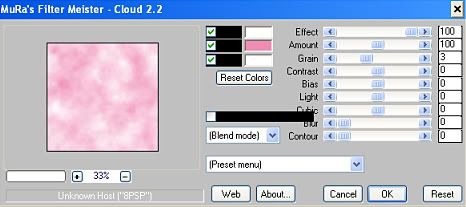
Make sure your colours are like the one in the picture; white, then the dark pink, then white again. Hit the OK button when satisfied.
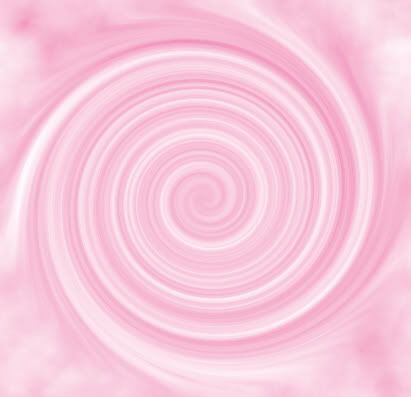
Your canvas should now look something like the picture below. We wanna see some darker shades of pink, some light, and some white all mixed in together.
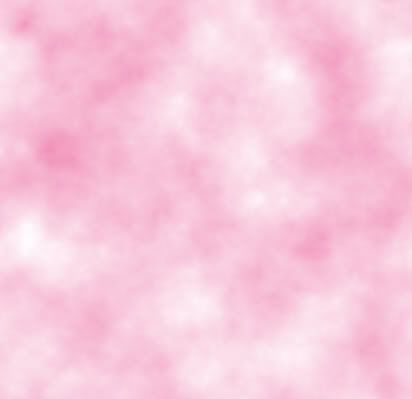
5. Next, go up to the Effects tab, then to Distortion Effects, then down to Twirl. Set the Degrees Number to 720, and click OK.
6. Repeat step #5 once more.
7. After 2 twirls, your canvas should now look like this:
Now we need to make our circle shape for the sucker.
8. Click on your Selection tool, and change it to Circle. Put your cursor in the middle of your canvas, hold down the shift key and draw out a circle.
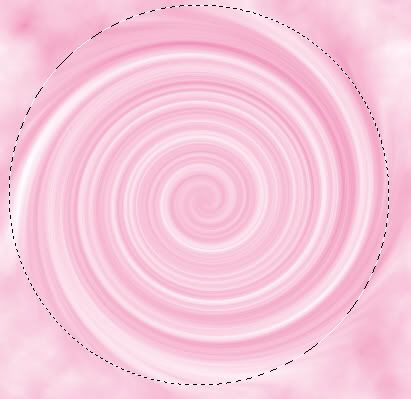
Now we need a bigger transparent canvas to paste our sucker onto and long enough to have the stick in there too.
9. Open up about a 800 x 800 transparent canvas.
10. Make your pink sucker image active then go up to the Edit tab and choose Cut, then back to the Edit tab and choose Paste as New Layer and paste it into your 800 x 800 image.
Move your circle near to the top of the page so we have room for the stick. And you can get rid of the layer that we cut the circle out of too.
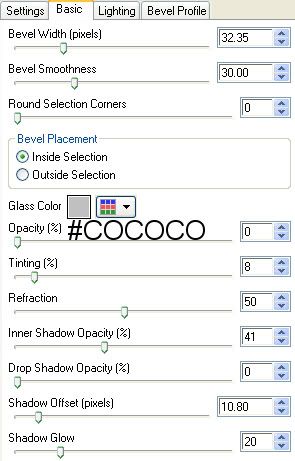
11. Go up to the Effects tab, down to the Plugins tab, then to Eye Candy 5 Impact, then to Glass.
On the Basic tab use these settings:
On the Lighting tab use these settings:
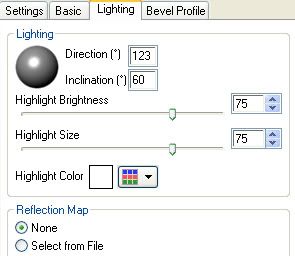
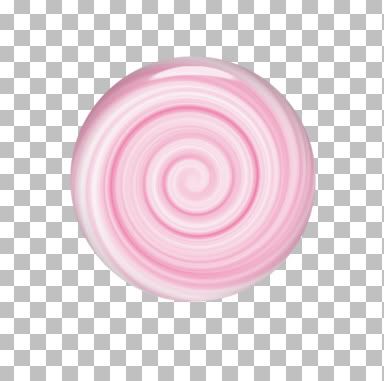
On the Bevel Profile tab choose Button and hit OK. Yours should now look like this:
12. Now for the stick. Set your foreground and background to white.
13. Click on your Pen tool and use these settings: Segment type is Line Segments, Line Style is amc round ended solid, Width is 13. Depending on the size of sucker you made, your line may need to be bigger or smaller.
14. Put your cursor a quarter of the way up into your sucker, hold down your shift key and draw out your line.
15. In the layer palette, right click on Vector 1 and choose Convert to Raster Layer.
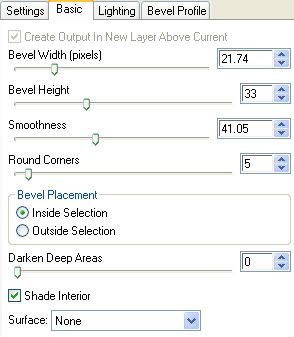
You can bevel this any way you want to, with the bevel option in psp, but I used EC5 Impact Bevel for my sticks.
On the Basic tab:
On the Lighting tab:
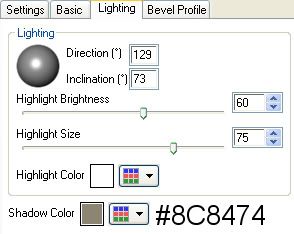
In the Bevel Profile tab choose Button.
Center your stick with your sucker and merge visable layers. That's all there is to it. Try cutting different shapes out of the swirly layer other than just circles. Instead of using the selection tool for the circle, choose a preset shape, draw it out on your swirly layer, and position it to whatever looks good to you. In the layer palette, convert it to raster layer. Go up to the Selections tab, choose, Select All, Float, then Defloat. Now delete the preset shape layer in the layer palette. Your marching ants are still holding the shape you chose, so just select Cut from the Edit menu and paste into a new canvas and finish off with the plugin.
TOU:
If you do this tutorial, your end result is yours to do whatever you wish; give it away as a freebie, use it as part of a kit, or sell it for profit. A mention or a link back here would be appreciated but is not mandatory.


This is so incredibly cool ! Thank you !!!