


These 2 quick tuts will show you how to use the warp mesh tool to thread a ribbon through an eyelet, with 2 different results.
Supplies provided: 1 eyelet and 1 ribbon. You can download those HERE
1. First open up both the eyelet and the ribbon png from the zip file.
2. Create a new transparent image, 500 x 500.
3. Copy both the ribbon and eyelet onto that new canvas.
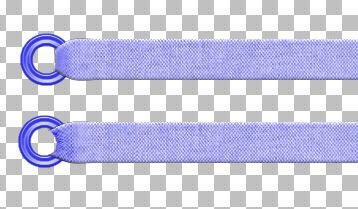
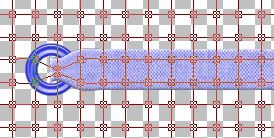
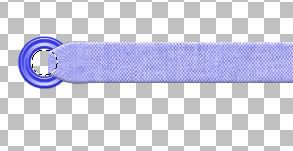
4. Place the ribbon layer on top of the eyelet and position the ribbon about half way across the eyelet like in the picture below:
5. Click on your Mesh Warp tool on the left. Change the settings along the top to these:
mesh horozontal is 20
mesh vertical is 20
symmetric is checked
show mesh is checked
edge mode is background
draft quality is high
final apply is best quality
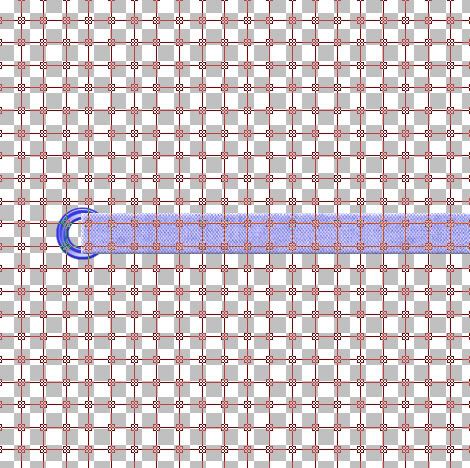
* Yours should now look like this:
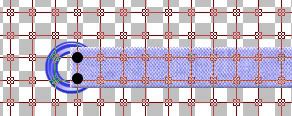
6. Put your cursor on the top node (indicated by the black dots in the example picture below) and pull downward half way down the ribbon. Then put your cursor on the node below that one and pull up to meet the first node. See the 2 example pictures below:
7. Click the Apply button to accept the warping. The apply button is the blue checkmark at the top beside your mesh horozontal setting.
8. Click the Mover tool to get rid of the mesh warp grid on your canvas.
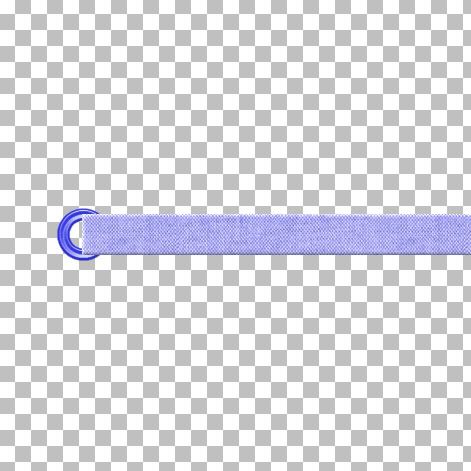
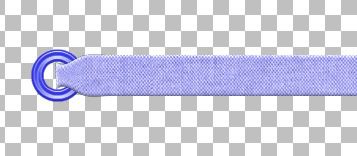
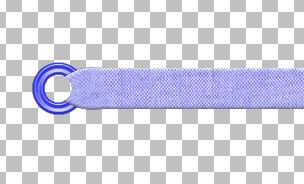
9. You should have something that looks like this:
10. Click on your Selection tool at the left and set it to rectangle.
11. Make sure your ribbon layer is the active layer, and draw out a rectangle like in the picture below:
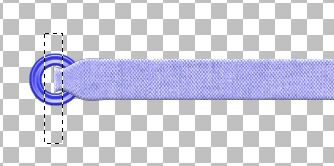
12. Hit the Delete key on your keyboard to get rid of that extra piece.
13. Go up to the Selections tab at the top and choose Select None to get rid of our rectanlge. You should have something like this now:
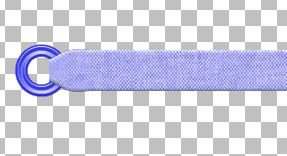
Then just give the cut edge a little darkening with your Burn tool or your Lighten/Darken tool, give it a bit of a drop shadow and you're done :)

Here's a slightly different way to thread your ribbon through an eyelet.
1. Follow the steps 1 through 13 from the above tutorial.
2. Click on your Eyelet layer in the layer palette to make it the active layer.
3. Click on your Magic Wand tool. Mode is replace, match mode is RGB, Tolerance about 4, Feather is 0, and Anti-alias is checked, set it to Outside. Click once on a blank space in the middle of your eyelet. You will see marching ants all around the inside of the eyelet, and they will also be on a section of your ribbon. See picture below:
4. Click on your Ribbon layer to make it active, and then hit the Delete key on your keyboard.
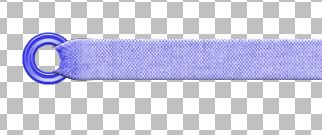
5. Go up to the Selections tab and choose Select None. You should have something like this:
Then you can just use your Warp Brush ( hidden with the paint brush and air brush) not the Warp tool, and smooth out the inside edge a bit and give it a little bit of a burn with the dodge tool or lighten/darken tool, and add a slight drop shadow.
TOU:
All supplies provided in this tutorial are for learning and personal use only. They serve the purpose of aiding you in doing this tut and are not to be used for commercial, monetary gain. You may use them for personal projects for yourself, but do not give them away as part of a kit or freebie, or share through email, groups ect......


Thanks so much for this tutorial. This is exactly what I needed. I have been looking everywhere for exactly that kind of threaded ribbon that I wanted and never found it. Now I can try to make it myself. Your tutorials are great, especially since they are for PSP ;-)). Thanks again.