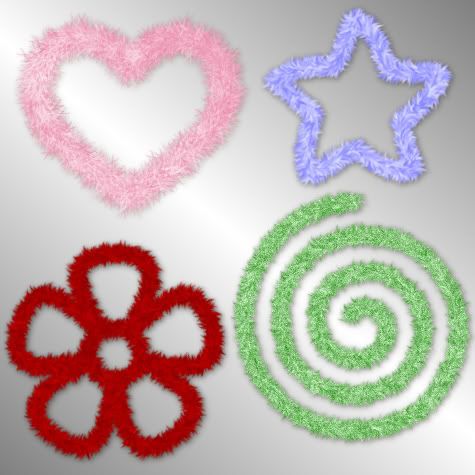
Supplies Needed:
My PSP Brushes: Which you can Download Here. There is an image pack included for those using Photoshop.
1. Open up a 500 x 500 transparent image.
2. Click on your Brushes tool and choose one of the SK Furry Fiber brushes. I'm going to use brush 4. Leave the settings at it's default but, I've resized it down to 43 for a smaller fiber. It just looks better.
3. You need to choose a colour for your fiber. If you want it all one colour, set your foreground to a dark shade and your background to a lighter shade of your foreground. For this tutorial, I am going to use #800000 for my forground and #C00000 for my background. If you want a 2 toned fiber, set your colours to whatever you want.
4. Now we need to change the variance on the brush in order to get it to go right, so hit your F11 key. On the right, your Brush Variance palette should have appeared. Hit the maximize button so you can see all the buttons clearly.(the maximize button is the square right inbetween the minus sign and the x sign)
5. Change your settings to the one's in the picture below and start experimenting on your canvas by dragging your cursor across your page.

*The higher the number you put into the Position Jitter, the more spikey your fiber will become. I like it set at 36 though.
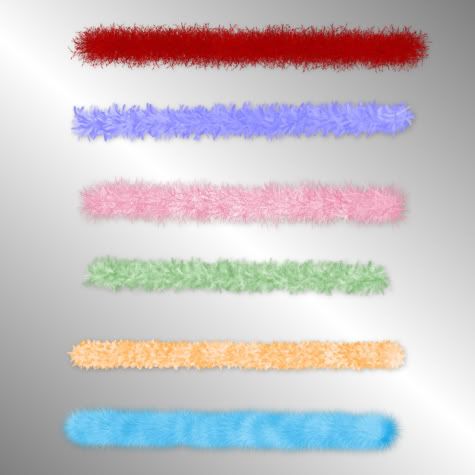
*The first red example is brush 4 with the settings in the above picture.
*The second purple example is brush 3 with a purple gradient set at sunburst.
*The third pink example is brush 2 with a pink gradient set at linear with 1 repeat.
*The fourth green example is brush 1 with a green foreground and white background.
*The fifth orange example is brush 5 with a orange foreground a white background.
*The sixth blue example is brush 7 with a blue forground and lighter blue background.

Play around with the settings and see what you can come up with. Try using gradients as well, and try out different brushes other than the one's I made for you.
When you are done with your brush, in your Brush Variance palatte, in the bottom right hand corner there is a little square with an arrow pointing to the left. Click on that once. It will set your brush back to the default settings so it does not spin the next time you use that brush for something else.
Hit your F11 key to make your Brush Variance palette disappear again also.
TIP: If you want to make a straight line with your brush, click once on a starting point, hold down your SHIFT key and click once at an ending point.
TOU:
If you do this tutorial, your end result is yours to do whatever you wish; give it away as a freebie, use it as part of a kit, or sell it for profit. You may not make this into an action or script to give away as a freebie or to sell for a profit. A mention or a link back here would be appreciated but is not mandatory. Please do not share the supplies or tut through email or any other means, send them here to my blog to get the supplies and tut for themselves.


This looks like so much fun. Love your tuts. I just need more time to play. Thank you for freely sharing. I really appreciate your time and effort.