


Supplies:
My Zip Includes: tube, striped swatch, my EC 5 Impact Bevel. DOWNLOAD HERE.
Mura's meister clouds plugin: DOWNLOAD HERE
EC5 Impact Free Trial: CLICK HERE
Texturizer Plugin: DOWNLOAD HERE
* Place the SK Yellow Frame Bevel.f1s into the folder named Bevel in the Eye Candy folder on your pc.
* Place the Mura's Meister plugin into your plugins folder on your pc.
* Place the Texturizer plugin into your plugins folder on your pc.
1. Open up a transparent image large enough to fit whatever size frame you want.
2. Set your foreground colour to #F0DC99 and your background colour to #F8E7B2. I'm using 2 shades of yellow here, but feel free to use your own colours.
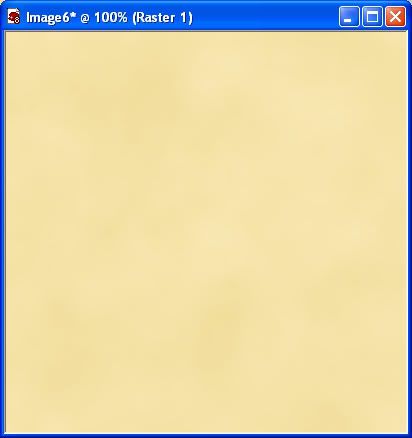
3. Open up a 400 by 400 pixel transparent image. We'll be using this as our frame pattern.
4. Go up to the Effects tab, down to Plugins, then find Mura's Meister and choose Clouds. Click the Reset button in the bottom right hand corner to get the default settings, and use those. Click OK. You should have this:
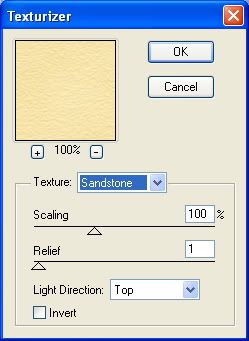
5. Go up to the Effects tab, down to Plugins, then find Texture and choose Texturizer. Use these settings:
6. Set your new yellow texture as both your foreground and background pattern; Angle 0 and Scale 100%.
7. Click on your Preset Shapes tool on the left and set it to Rectangle. Anti-alias is checked, Create as vector is checked, Line Style is Solid, and Width of 1.
8. On your large transparent image we opened up in the beginning, draw out a square or rectanlge the size you want your frame to be.
9. In the Layer Palette on the right, right click on Vector 1 and choose Convert to Raster Layer.
10. Go up to the Selections tab, choose Select All, then Float, then Defloat. You should have marching ants all around your image.
11. Go back to the Selections tab, down to Modify, and then choose Contract.
* The number of pixels you enter, will depend on how thick of a border on your frame you want. I've contracted by 50 pixels. If you want a thinner border, then choose a smaller number, if you want a thicker border, use a bigger number. Hit OK.
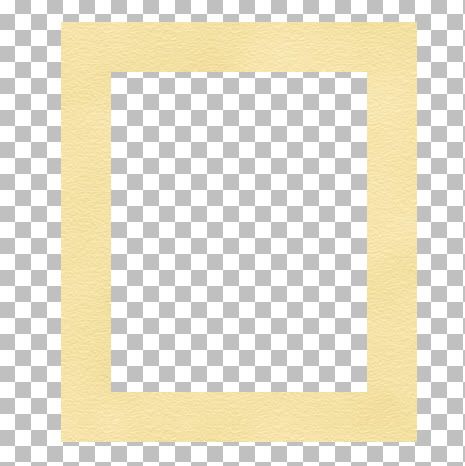
12. Hit the Delete key on your keyboard. You should have something similar to this:
13. Deselect your image. (Selections tab, Select None)
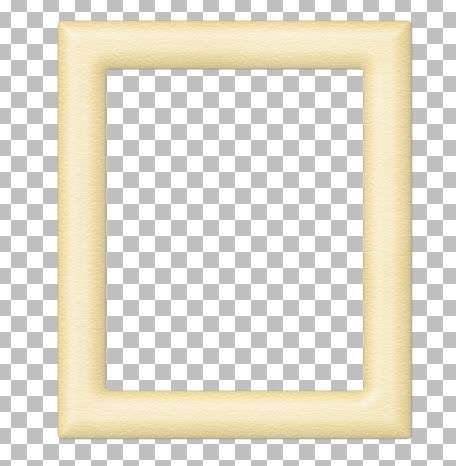
14. Now we are going to give it a bevel. Go up to the Effects tab, down to Plugins, then fiind Eye Candy 5 Impact and choose Bevel. Find my yellow frame bevel, select it, then click on the OK button. This is what you should have so far:
15. Open up SK Yellow Spring Swatch from the zip and set it both as your foreground and background pattern. Scale is 100 and Angle is 45.
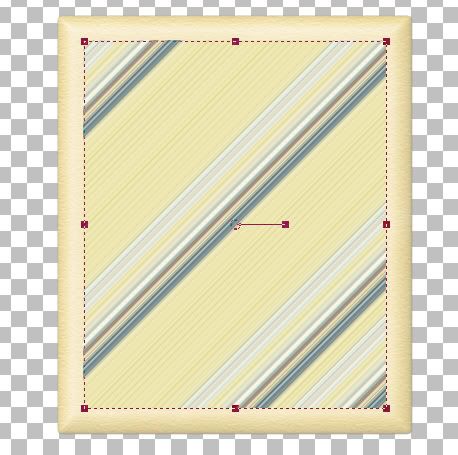
16. Click on your Preset Shapes tool on the left and set it to Rectangle. Draw out a square or rectangle, making sure it covers part of your frame edges and the top an bottom. See picture below:
17. In the Layers Palette on the right, right click on Vector 1 and choose Convert to Raste Layer.
18. Move that layer below your frame layer.
19. Make sure your striped layer is the active one in the layers palette (hightlighted blue), and go up to the Selections tab, Select All, down to Float, then to Defloat.
20. Back up to the Selections tab, down to Modify and choose Contract.
* Again, the number you put in here is entirely up to you. I've set mine to contract 40 pixels, but feel free to choose your own number.
21. Hit the Delete key on your keyboard to get rid of the middle section. This is what mine looks like at this point:

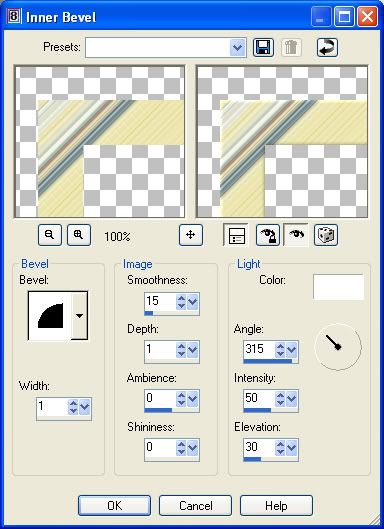
22. Now, we need to give it a slight bevel. Go up to the Effects tab, over to 3D Effects, then to Inner Bevel. Use the settings below:
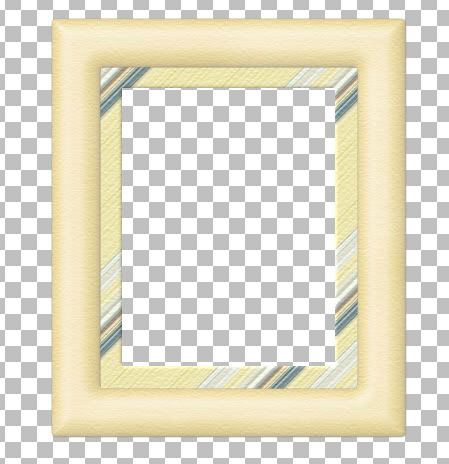
22. Click once on your striped layer to make it active, then go up to the Effects tab, down to Plugins, then to Texture, and then to Texturizer and give it the same texture as in step #5. Here's mine so far:
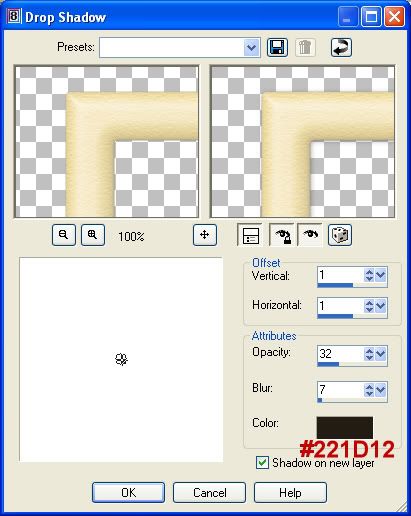
23. We need a tiny drop shadow between our frame and striped layer, so click on your Frame to make it active.
24. Go up to the Effects tab, then to 3D Effects and over to Drop Shadow and use these settings. Make sure to have the checkmark in the box that says Shadow On A New Layer.
25. Click on your Eraser Brush in the palette on the left. Use the default round brush at the default settings.
26. Click on your shadow layer in the layers palette on the right to make it the active layer. Erase all around the edges of your frame to get rid of the extra shadow that was created. We don't want any of that on there.
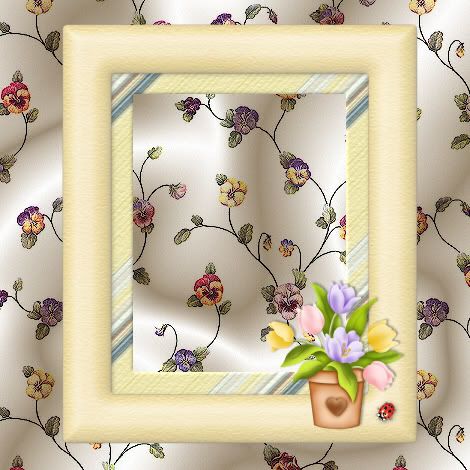
* At this point, your frame is pretty much done. All you need to do now is put a few embellishments on it and merge visable all layers.
TOU:
If you do this tutorial, your end result is yours to do whatever you wish; give it away as a freebie, use it as part of a kit, or sell it for profit. You may not make this into an action or script to give away as a freebie or to sell for a profit. A mention or a link back here would be appreciated but is not mandatory. Please do not share the supplies or tut through email or any other means, send them here to my blog to get the supplies and tut for themselves.
The flower pot and ladybug images are not mine. I do not know who's they are, they had no tou's attached, so to be on the safe side, if using this tut for commercial purposes, do not use these 2 images.


SHAWNA ACHEI LINDA A FRAME VOU TENTAR FAZER NO PS EMBORA NÃO TENHA MUITO TEMPO E NEM PRÁTICA MAS TENTAR APRENDER NÃO CUSTA NADA OBRIGADO POR DISPOR DE SEUS CONHECIMENTOS LIGIA MANAUS AM