Edit: If your white rectangle kept disappearing when you hit the delete key, i had forgotten to tell you to convert it to raster layer after you dragged it out onto your canvas. I've fixed my mistake and i hope that's the only one. If you have any problems, just let me know.
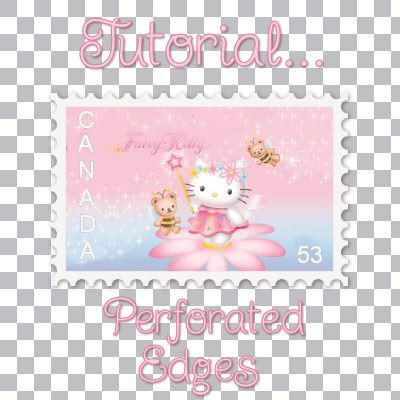
This tutorial will show you how to create perforated edges like the ones found on stamps.
Supplies Needed:
Mura's Meister Copies: Download Here
1. Start by opening up a transparent image about 400 x 400.
2. Set your foreground and background to white or what I'm using is an almost white colour #F6F4F4.
3. Click on your Preset Shapes tool on the left and set it to rectangle.
4. Drag out a rectangle onto your canvas. Here's mine:
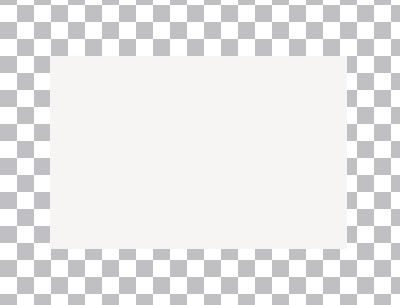
5. In the layer palette on the right, right click on your rectangle layer and choose Convert to Raster Layer.
6. Set your foreground and background to black.
7. Click on your Preset Shapes tool again and set it to Ellipse. Anti-alias and Create as Vector both are checked, Line Style is solid, Width is 1.
8. Draw out a tiny circle onto your canvas. Here's the size of mine:
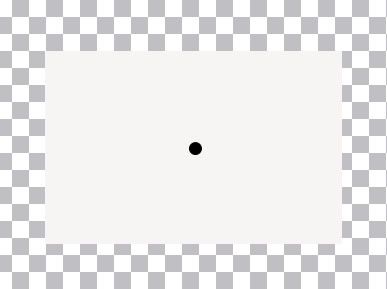
9. In the layer palette, right click on that layer and choose Convert to Raster Layer.
* We need this to be centered on our canvas, so...
9. Go up to the Edit tab and choose Cut, back up to the Edit tab and choose Paste, then Paste as a New Layer.
10. Click on the Effects tab at the top, go down to Plugins, find Mura's Meister and select Copies.
11. Click on the Reset button in the bottom right corner, then in the bottom left corner, click the dropdown arrow and find Line and select it.
12. At the top where it says Number, change that to about 23. Yours may vary depending on the size of space you want to leave between each perforation. Click OK.
* You should now have a line of dots going straight across your canvas.
13. I've trimmed my line to 16 dots. Use your eraser tool to get rid of the unwanted dots. ( This next part is optional and just my personal preference) I like to have a bit of space left at the end of each dot just because I think it looks better if the corners aren't cut off. If after trimming your line you don't have any space, use your undo option untill you get back to your single dot and redo the Mura's Meister copies and change the number from 23 to one or two higer to get the dots closer together. See picture under Step #14.
14. With your mover tool, move the line of dots up to rest along the top of the white rectangle. Line up the middle of the of the dots with the bottom half of the dots resting on the white layer. See picture below:

15. In the layer palette, right click on your line of dots and choose Duplicate.
16. With your Mover tool, move that line to the bottom of the white rectangle and line it up with the top layer of dots.
17. Right click on your original line of dots and choose Duplicate. Hide that layer by clicking on the eye icon beside it.
18. Hide your white rectangle layer as well by clicking the eye icon beside it.
19. Right click on one of the 2 black dot lines and choose Merge then Merge Visable.
20. Unhide the white rectangle layer now.
21. Click on your black dot layer to make it active.
22. Go up to the Selections tab at the top, choose Select All, up to the Selection tab again and choose Float, then back up to the Selection tab and chosse Defloat.
23. Hit the Delete key on your keyboard.
24. Click on the white rectangle layer to make it active and hit Delete on your keyboard again.
25. Go up to the Selections tab and choose Select None.
26. In the layer palette, find the layer that had the black dots on them before we deleted it, right click and choose Delete to get rid of the black outline of circles that appears on your canvas. This is what mine looks like now. I've added a green background only so you can see my canvas better:

27. Unhide the remaining layer of black dots.
28. With your Mover tool, move the line down to somewhere near the middle of your canvas.
29. Click on the Image tab at the top, choose Rotate, then Free Rotate. Put the green dot beside Right and beside the word Free, and change the number in the box to 90.00 and click OK.
* You should now have a vertical line of dots.
30. Once again, I've erased a few dots until I ended up with just 10.
31. Move that line of dots over to the right and line it up.

32. In the layer palette, right click on your line of dots and choose Duplicate and move that line over to the left and line that one up as well.
33. Turn off all layers except the 2 remaining black dot lines and then right click on one of them and choose Merge then Merge Visable.
34. Turn your white rectangle layer back on.
35. With your black dot layer active, go up to the Selections tab at the top, choose Select All, up to the Selection tab again and choose Float, then back up to the Selection tab and chosse Defloat.
36. Hit the Delete key on your keyboard.
37. Click on your white rectangle layer to make it active, and hit the Delete key on your keyboard once again.
38. Click on your Selection tab and choose Select None.
39. Delete the layer that has the leftover outline of black dots. Here's what mine looks like now:

40. At this point all you have to do is add a scaled down photo and maybe a drop shadow if you want. Here's my final product:

TOU:
If you do this tutorial, your end result is yours to do whatever you wish; give it away as a freebie, use it as part of a kit, or sell it for profit. You may not make this into an action or script to give away as a freebie or to sell for a profit. A mention or a link back here would be appreciated but is not mandatory. Please do not share the supplies or tut through email or any other means, send them here to my blog to get the supplies and tut for themselves.


Hi Shawna,
Thank you for taking the time to make such detailed tutorials. I enjoy learning new design techniques for digital scrapbooking. I have been working on the postage stamp tutorial for a while. I get stuck at step 23. After floating, defloating, deleting the black dots (only marching ant circles left), then hitting delete on the white rectangle layer, the whole white rectangle just disappears. I'm not sure where I goofed, but I wondered if you could help.
Thanks,
Cheryl