


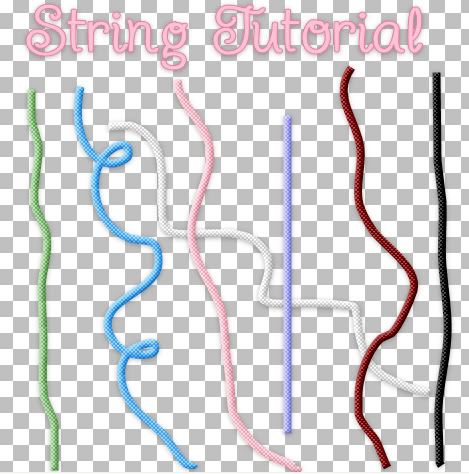
Supplies: SK String.png Download Here
A few days ago, I was working on a Father's Day kit and was trying to make a very small texture for a frame I had just made. Well, it turned out kinda ugly on the frame and I decided not to use it, but I found out that it makes some pretty darn great looking string. I love creating things by accident lol.
This tut is written in PSP 8 but can be done in any version of PSP, or if you have a basic knowledge of PS or PSE, this is pretty simple to do in those graphic programs as well.
1. Start out by opening up a transparent canvas of about 800 x 800 or whatever size you want your string to be.
2. Open up SK String.png from the zip and set it as your foreground pattern. Angle is 0, and Scale is 100. Turn off your background materials box. ( click on the black circle with the line going through it that's under your background box)
* Disclaimer: Don't get your face too close to the screen trying to see my pattern, you might bang your eyeball on your monitor lol. There really is a pattern there.
3. Click on your Pen Tool on the left and use these settings:
create as vector is checked
mode is drawing
segment type is freehand
line style is solid
width is 8
anti-alias is checked
4. Draw a squiggly line. Here's what mine looks like

5. In the layers palette on the right, right click on Vector 1 and choose Convert to Raster Layer.
6. Go up to the Effects tab at the top, over to 3D Effects then to Inner Bevel and use these settings:
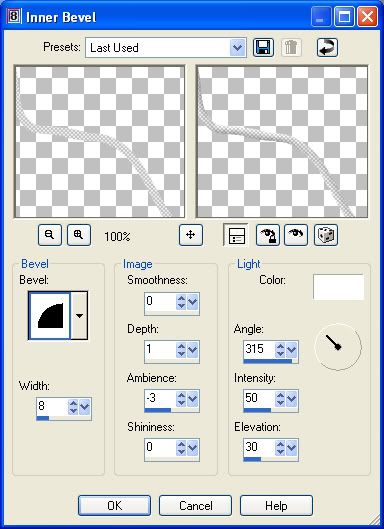
* It's looking a little to greyish for me so I'm going to lighten it up a bit using the Brightness/Contrast option.
6. Right click on your string layer in the palette and choose New Adjustment Layer, then choose Brightness/Contrast.
7. On the Adjustment tab, change the Brightness to 27 and the Contrast to -6 and hit OK.
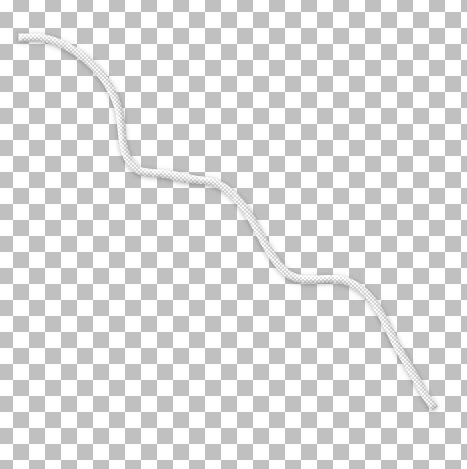
8. In the layers palette on the right, right click on one of your layers and from the flyout choose Merge, then Merge Visable.
Yours should look like this: I also gave mine a small drop shadow.
* If you want different colours of string, here's a quick way to change them to the exact colour you want.
* I prefer not to have a drop shadow before I recolour but it still works if you have one on there.
1. Click on your Eye Dropper tool on the left. Hold it over your string image and find a medium shade of grey and click once to set it as your foreground colour. Mine turned out to be #E7E7E7. ( remember your number)
2. Make sure your string layer is active, go up to the Adjust tab, over to Colour Balance, then down to Manual Colour Correction.

Where it says Source, that is where you type in your number from step one above. ( click on the colour to get the colour box to pop up and type it in)
Where it says Target, that is where you type in or click on whatever colour you want your string to change too. Click OK when done.
TOU:
If you do this tutorial, your end result is yours to do whatever you wish; give it away as a freebie, use it as part of a kit, or sell it for profit. You may not make this into an action or script to give away as a freebie or to sell for a profit. A mention or a link back here would be appreciated but is not mandatory. Please do not share the supplies or tut through email or any other means, send them here to my blog to get the supplies and tut for themselves.


Thank you for another great tut Shawna. I really do appreciate your sharing.
Robin