


Supplies: 1 frame, 1 ribbon, 4 straight eraser brushes. Download these HERE
I have provided a curled ribbon for the purpose of this tutorial, but if you are wanting to make your own ribbons curled around a frame at another time, you will need either AV Bro Page Curl or another plugin or program that will make the curls.
1. Start by opening SK Blue Frame for Tut and SK Blue Ribbon for Tut.
2. Copy and paste the ribbon TWICE onto your frame layer.
* This can get a little confusing, so I suggest you name your layers as Frame, Top Ribbon, and Bottom Ribbon.
3. In your layers palette on the right, place your 3 layers as: top ribbon is first, then frame, then bottom ribbon.
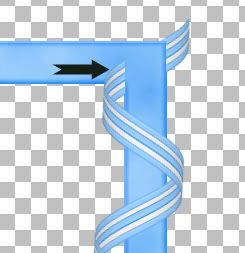
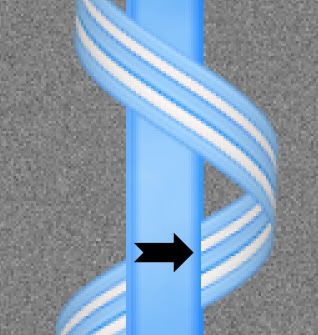
4. Drag your top ribbon over to the right and position it like in the picture below:
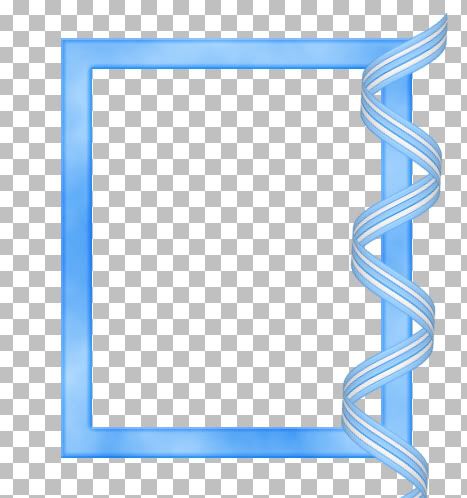
5. Drag your bottom ribbon over to the right and line it up perfectly with the top ribbon so it looks as though there is only one ribbon there like in the picture above.
6. In the layers palette, click on your top ribbon to make it active.
7. On the left, click on your Selection tool, set it to Rectangle, mode is replace, feather is 0, and anti-alias is checked.
* This is where it can get a little confusing. You need to decide what part of the ribbon is going to go over and what part is going to go under the frame.
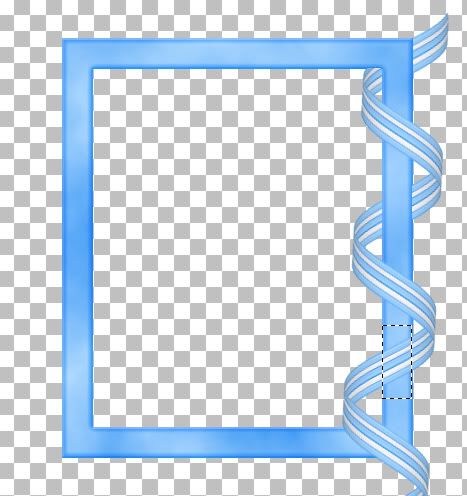
8. I've decided the top portion is going to go under my frame, so with your rectangle selection tool, draw out a small rectangle and try to come as close to the edge of the frame as possible. See my example below:

9. Hit the Delete key on your keyboard, then go up to the Selections tab at the top, and choose Select None.
* You can see that the top portion of the ribbon we selected was cut away and it looks like part of the ribbon is now behind our frame. You can also see that there is a section of it still needing to be deleted.
10. Use your Rectangle selection tool again to get rid of that tiny piece. Select None from the Selection tab.
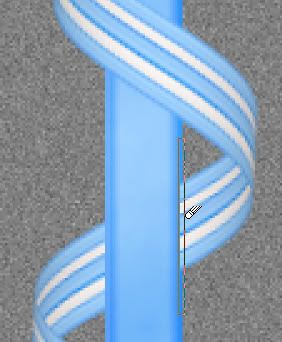
11. The next piece that needs to be deleted is right here:

12. Use your rectangle tool again to select this portion and hit Delete on your keyboard. Select None from the Selections tab.
* I'm going to zoom in really close so the picture is going to be blurry, but as you can see, I didn't get close enough to my outter edge of my frame when I erased my ribbon, and it will make a difference when you put on a drop shadow. It will be noticable and make it look unrealistic.
Here's where I like to use the eraser tool. You should have these brushes already in your brush dropdown list because they are PSP default brushes, but if you don't, I've included 4 .png files of the same brushes of my own in the zip.
13. Click on your Eraser tool on the left and find either the Line Vertical psp default brush, or if you are using mine, find SK Ribbon Erase 01. Leave it at it's default settings, but make sure the opacity is set to 100.
14. Make sure you are on your Top Ribbon layer, zoom into your image and position the brush as close to the outter edge of the frame as possible. Line up the outter edge of the straight brush with the outter edge of the frame and click once.
15. Do the same for the other secion of ribbon as well.
* We now have a ribbon swirling in and out of our frame. One important thing to remember is, do not merge anything untill the very last step. We still need layers to work with for putting the drop shadow down on both the front and back ribbons.
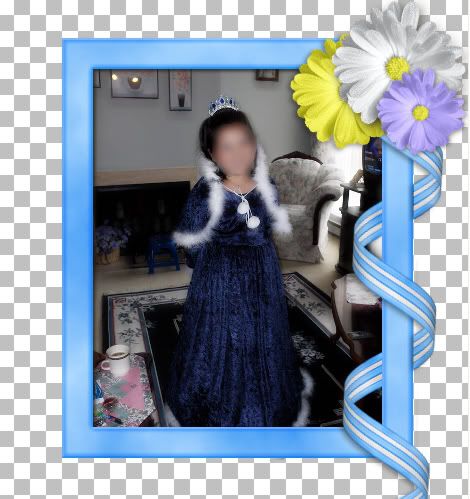
* I happen to like how the bottom ribbon comes out of the frame and hangs down over it so I'm going to leave it just like that. The top ribbon sticking out of the back of the frame is kind of hanging in limbo up there, so you can just cut it away using either the eraser brush or your rectangular tool, or give it an embellishment. I'm going to smack a couple flower up there. Next you need to shade it a bit.
16. Working on your Top Ribbon layer, click on your lighten/darken tool, or your dodge/burn tool. Size about 30, hardness 50, opacity about 20. The black arrows indicate where you should darken the rounded part of the ribbon. It's up to you how much or how little you want the shading to appear. I've used just a few short clicks on each section.
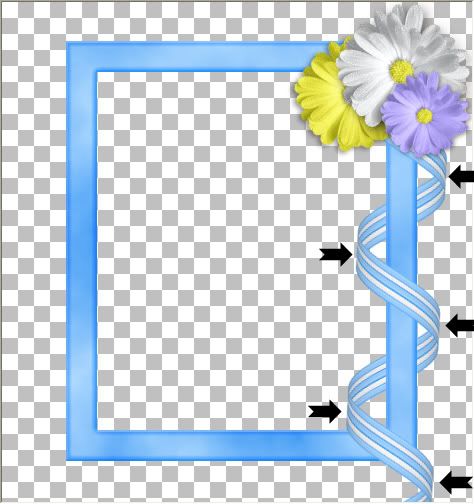
* I also like to shade just a bit where the ribbon meets Under the frame.
17. Using the same settings you used to darken the top curves of the ribbon, do the same for these next parts.
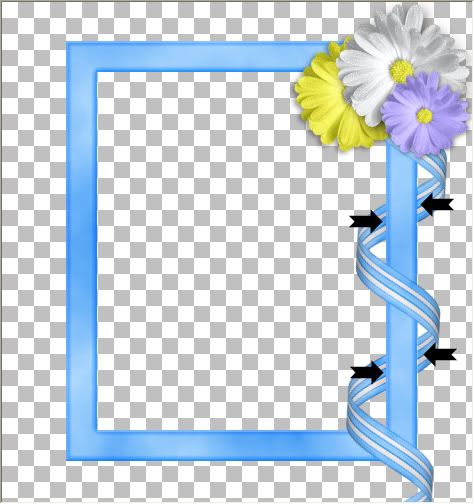
.
* You can also decrease the brush size to about 10 or smaller and do a bit around the edges of the ribbon as well.
* Your drop shadow will depend on what picture you are going to be using in your frame, so that part is up to you, but I would suggest always putting your shadow on a new layer so you can erase or delete it completely if you don't like it at some point. That way, you won't have to redo your entire frame over again.
* Also, save this as a .psp image with the layers intact so you can make changes at a later date.
TOU:
All supplies provided in this tutorial are for learning and personal use only. They serve the purpose of aiding you in doing this tut and are not to be used for commercial, monetary gain. You may use them for personal projects for yourself, but do not give them away as part of a kit or freebie, or share through email, groups ect......


Thank you for sharing another wonderful tutorial. I'm having a difficult time keeping up with you. Love your blog, and appreciate all you share.
Thanks again,
Robin