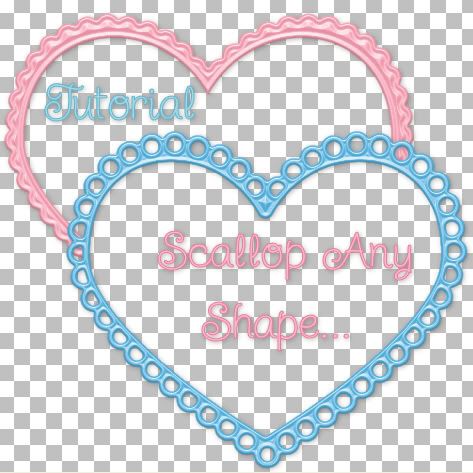
Needed:
Vector Tube Script which you can download HERE
Zipped Stuff: Heart Shape, scallop dot tube, (scallop dot in png format included). Download HERE
* Unzip the vector tube script and place it in your Scripts-Restricted folder.
1. Start by opening up a 200 by 200 transparent image.
2. Set your foreground and background colours to black.
3. Click on your Preset shapes tool on the left and set it to Ellipse. Anti-alias and Create as Vector are both checked, line style is solid, and a Width of 1.
4. Draw out a small circle on your canvas about the same size as the one in the picture below: My circle tube is included in the zip.
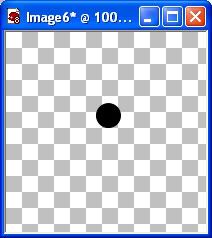
5. Crop the extra space away from your circle and export it as a tube. File menu, Export, Picture Tube, leave everything at it's default and just give it a name like small scallop 01.
* You can delete that canvas after tubing it, we no longer need it.
6. Open up a 450 x 450 pixel transparent image.
7. Set your foreground and background colours to a light grey. I'm using #C0C0C0.
8. Click on your Preset Shapes tool on the left and choose Shawna Heart from the list. Anti-alias and Create as Vector are checked, line style is solid, and a Width of 1.
9. Draw out your shape like in the picture below:
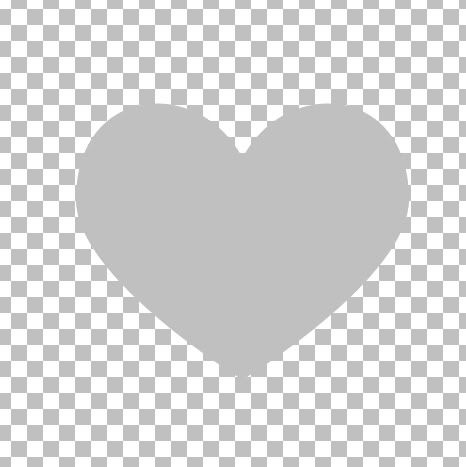
10. Click on your Picture Tube Tool on the left and find your single black dot you made earlier or if you are using mine, find temp scallop circle. Scale is 100, Step is 20, Placement Mode is Continuous, and Selection Mode is Incremental.
* If you have chosen to use your own black scallop dot, you need to increase or decrease the Step number so that your dots are spaced correctly and touch each other. Open an temp canvas and drag out a line of dots. If they are too close together, then decrease the Step number, if they are too far apart increase the step number untill they are placed appropriately.
11. Go up to the Script section in the options bar along the top and scroll down to the bottom and find Vector Tube and select it.

* Your heart shape needs to be a Vector shape, so if you've automatically right clicked and changed it to a raster layer, change it back to a vector from the undo button in the edit tab or redo it.
12. Beside your Vector Tube script there is an arrow pointing to the right, click it once.
* Your heart should now be scalloped with your black dot tube:
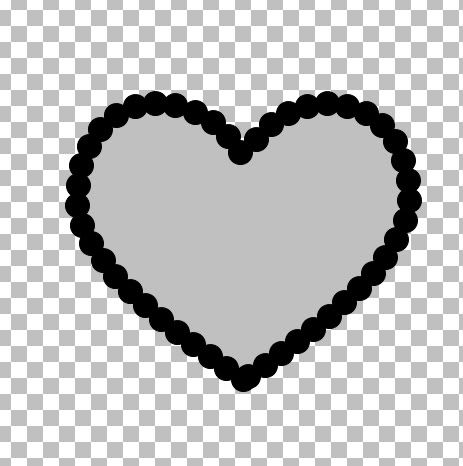
13. In the Layers Palette on the right, click the + sign beside Vector 1. You will see the title shawna heart. Double click that and a vector property box will pop up.
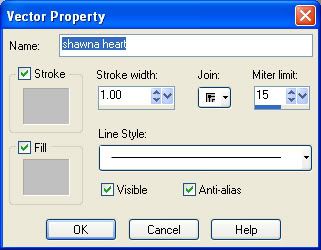
14. Click the light grey coloured box under Stroke, then click on the black coloured square to change your grey to black. Do the same for the Fill properties, then click OK.
* Your entire shape should now be all black:
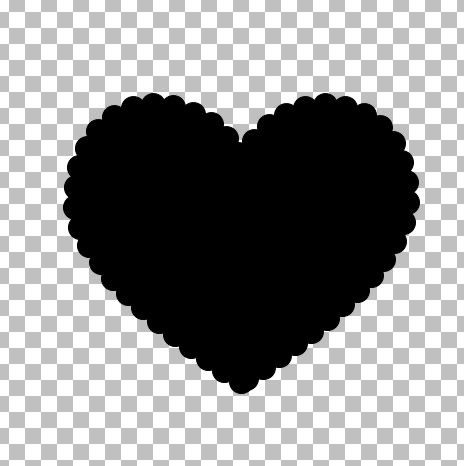
15. In the layer palette, right click on Vector 1 and choose Convert to Raster Layer.
16. Right click on one of the layers in the layer palette and choose Merge, then Merge Visable.
* At this point, you can save this as a .psp or .png file and use it as a solid template, or if you want to make it a frame with the middle cut out then continue on.
17. Set your foreground and background back to our light grey colour #C0C0C0.
18. Click on your Preset Shapes tool again and find your heart we used earlier, same settings.
19. Draw out another heart shape on top of your black scalloped heart. The size of heart you draw will determine the size of your scalloped border. A smaller heart will leave a larger border and a bigger heart will leave a smaller border when we delete it for the middle. Use the nodes that are on each end of the dotted square to pull the heart in or out. Here's what mine looks like:
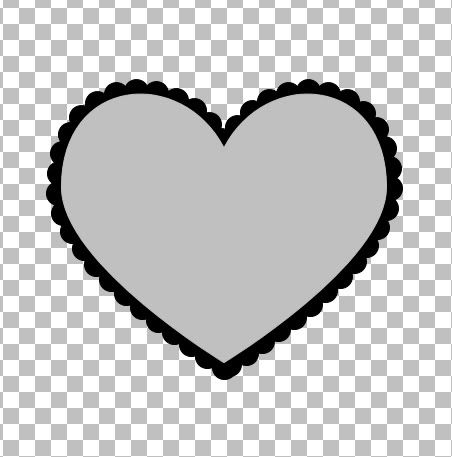
* Here's a little trick to get your 2 shapes centered perfectly on top of each other. When you've drawn out the size of heart you want for the middle, click once on your black layer to make it active, go up to the Edit tab and choose Cut, then go back and choose Paste, then Paste as New Layer. It will center perfectly in the middle of your canvas. Then do the same for the grey heart.
20. In the layer palette, right click on your Vector layer and choose Convert to Raster Layer.
21. Go up to the Selections tab at the top, down to Select All, up to the Selections tab again and choose Float, then back up to the Selections tab and choose Defloat.
* You should have marching ants all around your grey heart.
22. Hit your Delete key on your keyboard.
23. In the layer palette, click on your black layer to make it active, then hit the Delete key on your keyboard.
24. Go up to the Selections tab at the top and choose Select None. You should now have this:
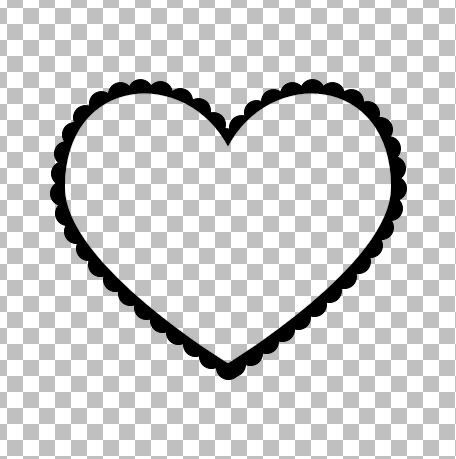
25. In the layer palette, delete what was once your grey heart layer. It sometimes still has a small border left from cutting and we don't want that to interfear with our design.
That's it!!! You can now scallop any shape, and size you want, quick and easy.
* Tip: You can also cut tiny shapes out of your single scallop dot like stars, circles, hearts ect..... then use the Vector Tube script to scallop your shape.
TOU:
If you do this tutorial, your end result is yours to do whatever you wish; give it away as a freebie, use it as part of a kit, or sell it for profit. You may not make this into an action or script to give away as a freebie or to sell for a profit. A mention or a link back here would be appreciated but is not mandatory. Please do not share the supplies or tut through email or any other means, send them here to my blog to get the supplies and tut for themselves.


Another beautiful tut. Thank you so much for freely sharing your knowledge.
Robin