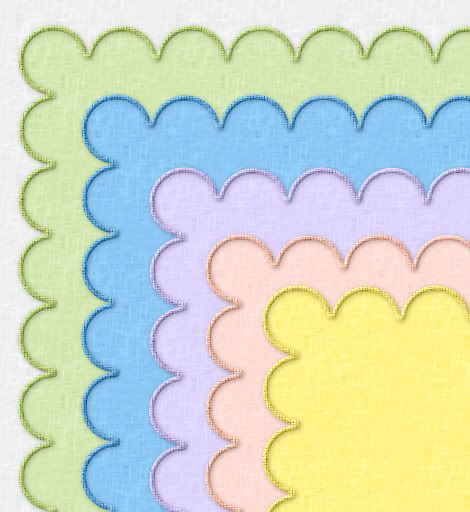
Supplies: SK Scalloped Background, White Linen Solid.png and White Linen Rough.png all of which you can download HERE
* I was at an event last week and I was wearing a cream coloured linen blouse, which is where I got the idea for these papers. They turned out really great, so I thought I'd share the tut.
* All supplies are in .PNG format
1. Open up SK Scalloped Background from the zip. This image is about 1800 x1800. You can resize it to whatever dimensions you want.
2. Go up to the Selections tab at the top, choose Select All, then Float, then Defloat. You should have marching ants all around your scalloped image.
3. Next, go up to the Layers tab, and choose New Raster Layer.
4. Open up White Linen Solid from the zip and set it as your foreground pattern. Angle 0 and Scale 100.
5. Click on your Flood Fill tool on the left and fill your blank layer. You should have this now:

6. Go up to the Selections tab and choose Select None.
7. In the layers palette to the right, right click on your black scalloped image and choose delete.
8. Open up White Linen Rough from the zip and set that as your foreground pattern, Angle 0, Scale 100.
9. Go up to the Selections tab, Select All, then to Float, then down to Defloat. You should have marching ants all around your scalloped image.
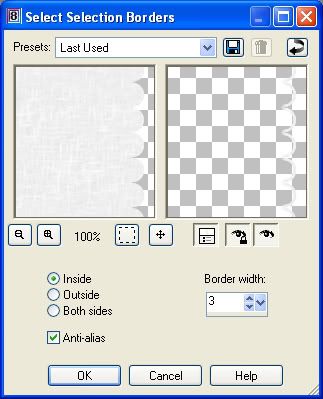
10. Go back up to the Selection tab, down to Modify, then down to Select Selection Borders. Change your settings to the ones below in the picture.
* Depending on the number you type in, this will automatically give you a border around your image. Take a look at my preview window picture below to see what I mean. I've chosen a border of 3 pixels. Look on the right of the preview and it will show you the 3 pixel outline that we will be putting over the background linen layer. You can increase this number if you want a thicker border.
** Edit: I think I changed my mind and used a border of 4 or 5 after I had already taken the screenshot, so if you want the same thickness of border as in my preview pic, choose 4 instead of 3 for this part.
11. Go up to the Layers tab at the top and choose New Raster Layer.
12. Flood fill it with the foreground pattern White Linen Rough.
13. Go up to the Selections tab and choose Select None. You should now have an even 3 pixel border around your linen background, but on a new layer. I've turned off my linen layer so you can see the outline better.
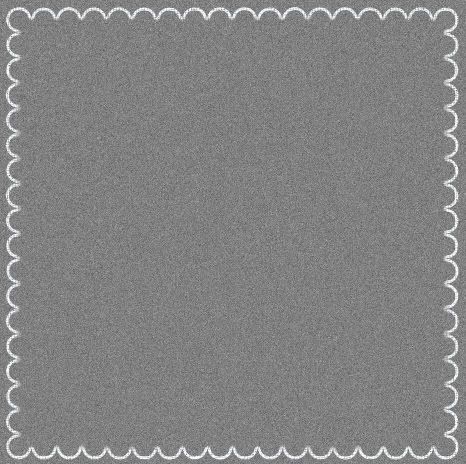
* Now we are going to give it a bevel.
14. With your border layer active, (highlighted blue in the layer palette) go up to the Effects tab, then to 3D Effects, then over to Inner Bevel. Use these settings:
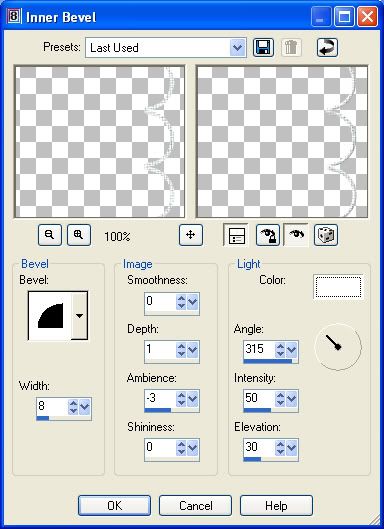
Here's what mine looks like after the bevel:
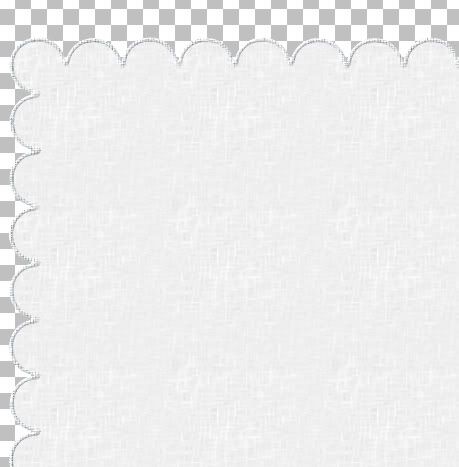
* I want my border to have a little bit of depth to it, so I'm going to put a slight drop shadow under it.
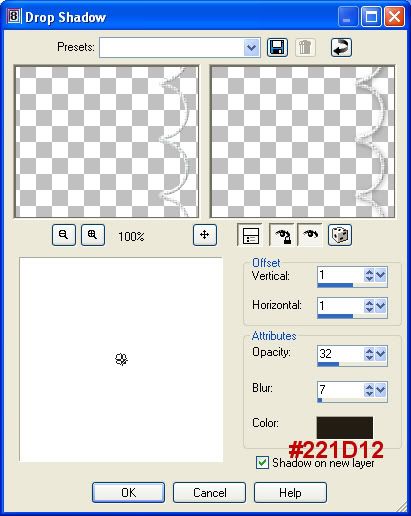
15. With your border layer active, go up to the Effects tab, over to 3D Effects, then to Drop Shadow and use these settings:
* I like to put my drop shadow on a new layer so that when I recolour it, I can turn off my shadow, recolour it, then turn it back on, but you don't have to have yours on a new layer if you don't want to.
Here's mine after the drop shadow:
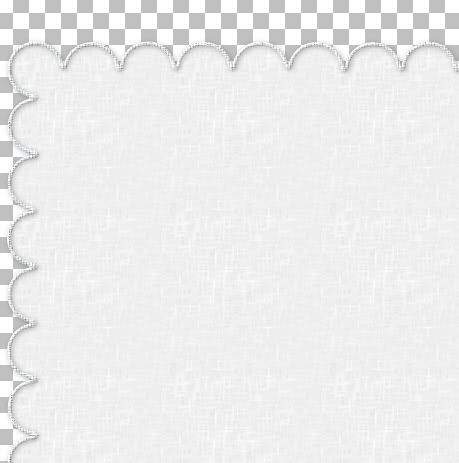
That's pretty much it. Save this file as a PSP file with the layers intact so when you want to recolour it, you can do them separately.
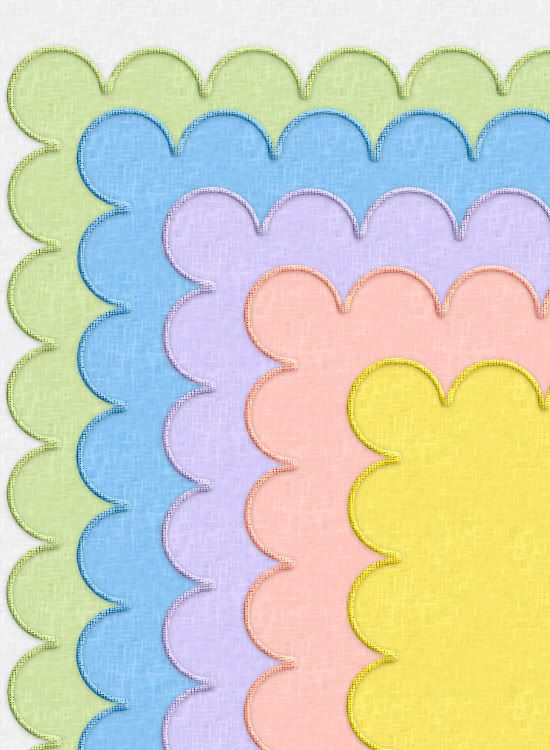
If you don't know how to recolour images, go to my String tut HERE and near to the end of the tut it will tell you how to recolour images using the Manual Colour Correction option.
TOU:
If you do this tutorial, your end result is yours to do whatever you wish; give it away as a freebie or sell it for profit. You may not make this into an action or script to give away as a freebie or to sell for a profit. A mention or a link back here would be appreciated but is not mandatory. Please do not share the supplies or tut through email or any other means, send them here to my blog to get the supplies and tut for themselves.


Another beautiful tutorial Shawna. Thanks so much for your generosity and sharing.
Robin