


Golden Sparkles.jpg
SK Christmas Poinsettia Leaf.pspShape Paste into your shapes folder
SK Golden Ball.tub Paste into your picture tubes folder
SK Leaf.tub Paste into your picture tubes folder.
Download Here
1. Start by opening a 500 x 500 transparent image.
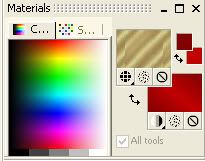
2. Set your foreground colour to #800000 and your background colour to #C00000. Then set your background to "Gradient", choose Foreground-background, Angle is 40, Repeats 1.
3. Go back to your foreground and set your "Pattern" to "Golden Sparkles.jpg" that was in the zip file, Angle is 0, Scale is 100.
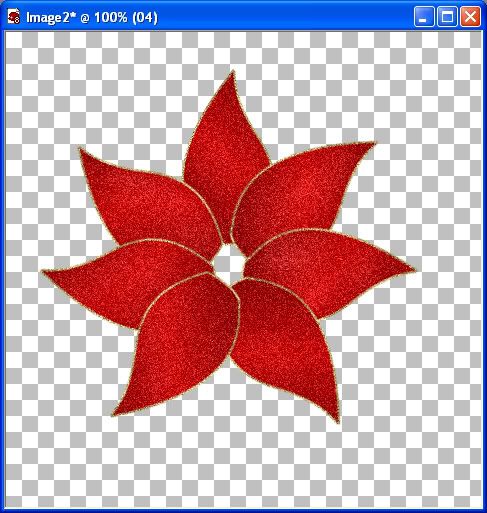
4. Go to your "Preset Shapes" tool and choose "SK Christmas Poinsettia Leaf". Set your "Line Style" to Solid, "Line Width" to 2.00, "Anti-alias" is checked, "Create as Vector" is also checked, and draw out your main leaf about the size of mine in the picture below.
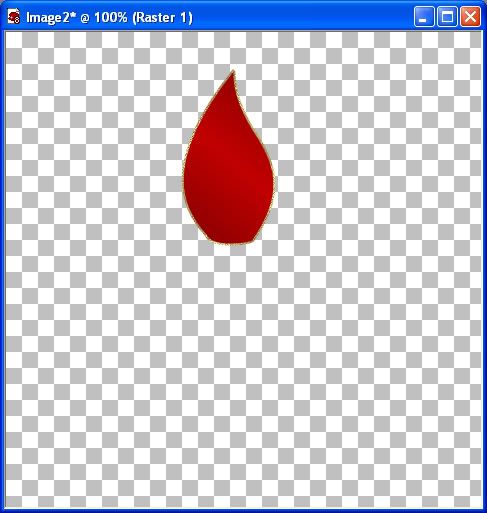
If you want to increase or decrease the size of the gold outline of the petal, in the layer palette to the right, click on the plus sign beside the layer called "Vector 1", then double click on the layer called "SK Christmas Poinsettia Leaf", and you can change the stroke width. When you are satisfied with it, click ok, and right click on "Vector 1", and choose "Convert to raster layer".
5. Rename that layer "Main Petal".
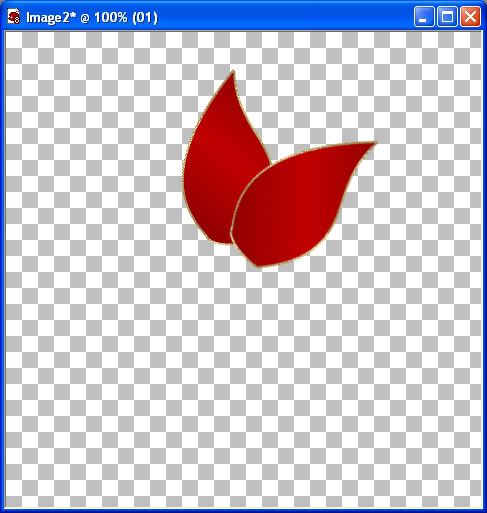
6. Now, right click on main petal, and from the flyout choose "Duplicate", and rename that one 01.
7. Go up to the "Image" tab, choose "Rotate", then "Free Rotate" and use these settings. Direction is "Right", Free is dotted, and change the number to 50. All layers and rotate single layer around canvas center are both not dotted.
8. Take your "Mover" tool and move it like in the picture below.
9. Click on "Main Petal" to activate that layer and right click and choose "Duplicate" and rename that to 02, and drag that layer to the top of the palette above 01.
Always duplicate the Main Petal because each time you duplicate something, it becomes a little less clear, so we don't want to copy a copy.
10. Go up to the "Image" tab, choose "Rotate" then "Free Rotate" and change the number to 85, and with your "Mover" tool, move that petal into place on your canvas.
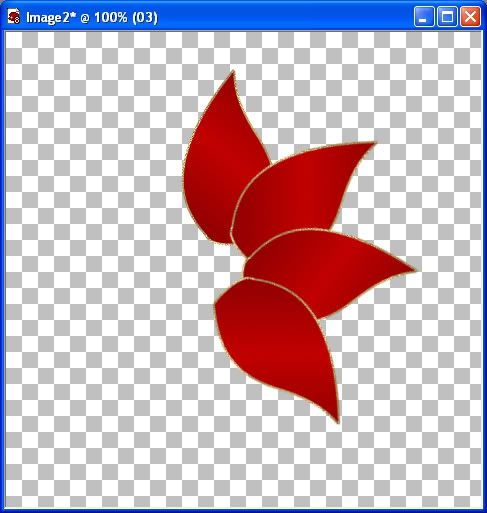
11. Go to "Main Petal" in your layer palette, and duplicate it again. Rename it to 03, and move it to the top of the pile.
12. Go up to the "Image" tab, choose "Rotate" then "Free Rotate" and change the number to 140 and move it into place. You should have something that looks like this
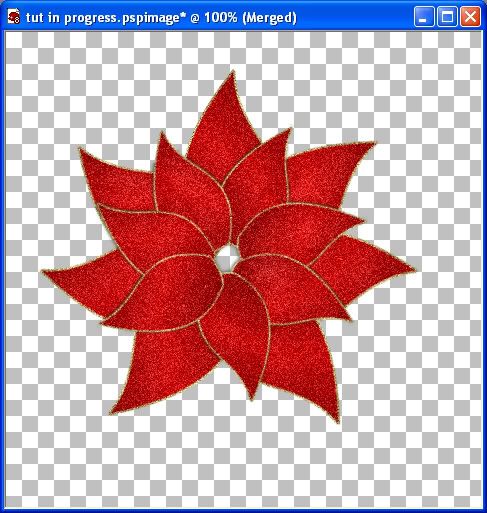
Now we need to the the other 3 petals for the left side. The steps are the same for the next 3 petals, except when you do the rotations, put the dot in the word LEFT. Use the same settings as well, 50, 85, and lastly 140. Remember to duplicate only the main petal, and to rename them 04 05 and 06, and move them to the top of the palette. When finished with that, you should have something like this

13. Now, merge all visable layers. You can leave it as is, or you can do just a tiny bit of shading in this next step. Go over to your Lighten/Darken tool, it's the half black half white octagon looking icon on the left. Choose the default round brush, size 43, hardness 50, step 25, density 100, thickness 100, rotation 0, opacity 46. Left clicking with your mouse will lighten and right clicking will darken. It's already a bit shaded because we've used a gradient as a fill, so I just lightened it a bit in certain areas. This is what I ended up with

14. Now hold down your shift key and hit the d key to duplicate our image, and minimize it for later use.
15. Go up to the "Adjust" tab, then to "Add/Remove Noise" then to "Add Noise". Use these settings: Gaussian is dotted, Monochrome is checked, and Noise is 33%. You should have something that looks like this
16. Unminimize our image from before we added the sparkly noise. Right click and merge all visable layers. Go up to the "Image" tab and choose "Resize". Make sure it's on "Percent" and not "Pixels"..... Change the width and height to 75%, Resolution is 300, Resampled Using is Bycubic, Lock Aspect Ratio and Resize All Layers are checked.
17. Go up to the "Image"tab and choose "Rotate", then "Free Rotate". Direction is "Right" "Free" is checked and set the number to 25 and hit ok.
18. Now add the noise to this layer again, using the same settings as before, in step #15. The reason I had you dulplicate this layer, rotate, then redo the noise is becasue when you rotate and resize it to 75%, it becomes a bit fuzzy and not as shiny. You can use the sharpen feature but I prefer not to as sometimes, it comes out looking too harsh.
20. Go up to the "Edit" tab and select "Cut", then paste as a new layer onto your first flower image.
21. I like to give my top flower layer the slightest shadow, but you can skip this step if you want. Go up to the "Effects" tab, then to "3D Effects" then to "Drop Shadow". Use these settings: Vert is 0, Horo is -1, Opacity is 50, Blur is 5.00, Colour is #221D12.
22. Repeat these steps again, except change the Vert to -1, and the Horo to 0.
Now we are going to do the little thingys inside the middle of the flower.
23. Change your foreground colour to #276D27. Activate your pen tool and use these settings. Segment type is "Line Segments", Line Style is "Solid", Width is 3, Anti-alais and create as vector is checked. Using a blank space on your flower image, hold down your shift key and draw a straight line about the length of 2 squares on your image.
24. Right click on that layer and convert it to a raster layer. Give it a simple little bevel, anything is fine as long as it doesn't look so flat.
25. To give it a little bit of a curve to it, go up to the "Effects" tab, choose "Distortion Effects" then choose "Wave". Horozontal: Amplitude is 2, Wavelength is 51, Vertical: Amplitude is 1, Wavelength is 25, and Transparent is dotted.
25. Now drag that over into the hole in the middle of your flower. Copy and paste that 7 or 8 times, and mirror a few of them so that they aren't all going in the same direction. (Mirror is in the image tab)
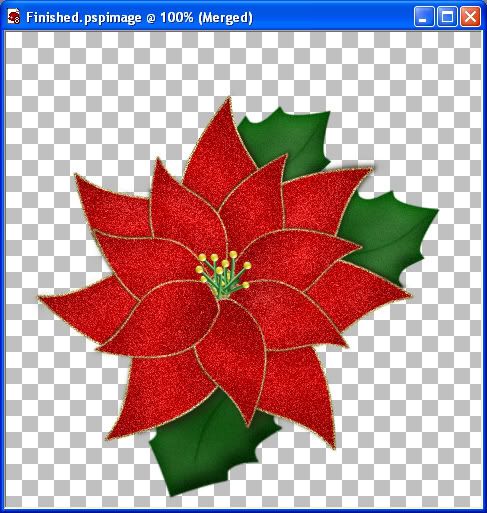
26. Click on your Picture Tube tool and find SK Gold Ball. Set the size of your Golden Ball at 11, and place one on each of the green thingys in the middle. You may want to make a new layer for each one so that you can move it into place.
Also, I just made a new layer, placed it behind my 2 flower layers and filled it with tiny gold balls to fill in the spaces.
I've also included a leaf tube if you want to use it. Shading and making leaves was never something I was very good at, but that's ok, most of it is hidden behind the flower anyway ;) You may want to add about 6% noise to the leaves as well.
That's it, we are done. Here's the final product
TOU:
If you do this tutorial, your end result is yours to do whatever you wish; give it away as a freebie, use it as part of a kit, or sell it for profit. A mention or a link back here would be appreciated but is not mandatory. Please do not share the supplies or tut through email or any other means, send them here to my blog to get the supplies and tut for themselves.


Wow! What a wonderful tut!!!!! Thanks so much for walking us through these great tricks! I'm lovin' your site. Thanks again!
***Beth***