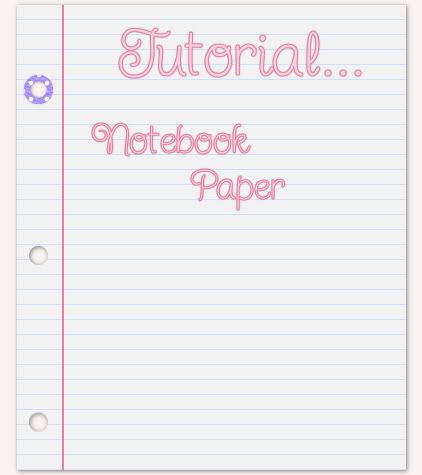
Supplies Needed:
Mura's Meister Copies (optional): Download Here
My zip containing SK Blue lines and SK Pink Line: Download Here
1. Start by opening up a transparent image whatever size you want your paper to be. I'm using a small size for this tut 425 x 510.
2. Set your foreground colour to #F2F2F2 and flood fill your canvas with this.
3. Open up SK Blue Lines from the zip and set it as your foreground pattern. Angle 0 and Scale 100.
4. Flood fill your canvas with the blue lines. This is what you should have at this point:

5. Open up SK Pink Line from the zip. Copy and paste it onto your canvas.
* You may need to copy and paste it twice if you are making a larger sheet.
6. Move it over to the left leaving a bit of space inbetween the edge and your pink line. Here's mine:

* Next we are going to create the holes for the paper. The use of Mura Meister Copies plugin is optional here. You can do this manually, but I like that it gives you perfect, evenly spaced holes this way. For this to work out properly, we need our canvas width to be the exact same as our height. My canvas height is 510 pixels so we need to increase our canvas size. So.....
7. Go up to the Image tab at the top and click on Canvas Size. In the New Canvas Size box, type in 510 for both the width and height ( make sure it says pixels in the box beside width and height) and hit OK.
* You will have blank space on both the left and right of your canvas.
8. Set both your foreground and background colours to black.
9. Click on your Preset Shapes tool on the left and set it to Ellipse. Anti-Alias and Create as Vector both checked, Line Style is solid, Width is 1.
10. Draw out on your canvas a small circle the size you want the holes to be.
* Now we need this dot to be perfectly centerd on our canvas to use this next plugin properly, so....
11. Go up to the Edit tab and select Cut, then back up to the Edit tab and choose Paste, then Paste as New Layer. It should now be in the center of your paper.
12. Go up to the Effects tab, down to Plugins, then find Mura's Meister and choose Copies. Change your settings to the one's in the picture:
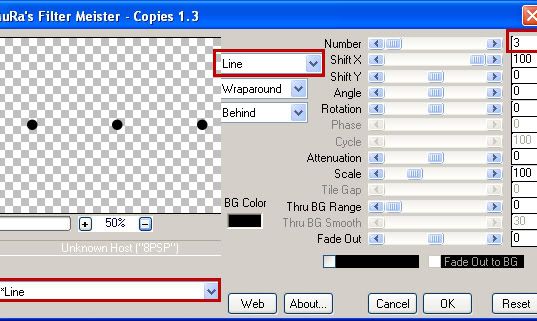
* I only want 3 holes at the side of my paper, if you wanted 4 or more, change the section at the top right that says Number from 3 to however many holes you wanted.
* You should now have 3 holes going in a horozontal direction across your paper. We need to rotate these so that they are vertical.
13. Go up to the Image tab at the top, then down to Rotate, then Free Rotate. The green dot should be in Right, and also beside the word Free. Type in 90.00 amount box. Make sure that All layers and Rotate single layer around canvas center are NOT checked off. Hit OK.
*Your 3 black dots should now be in a vertical line.
14. With your Mover tool, move them over to the left and position them on your paper where you want the holes to be cut out.
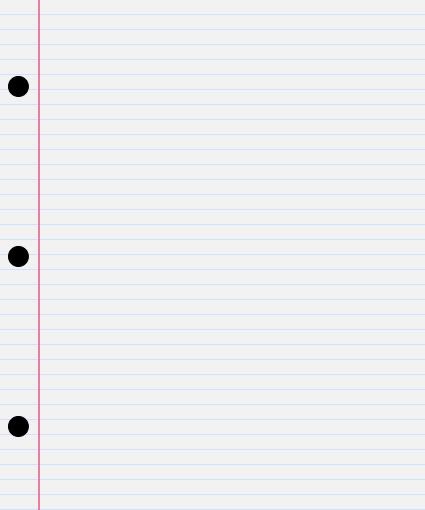
15. Go up to the Selections tab at the top, choose Select All, then up to the Selectios tab again, choose Float, back up to the Selections tab and choose Defloat.
* You should have marching ants all around your 3 dots.
16. Hit the Delete key on your keyboard, then in the layer palette, click on the layer that has your paper on it and hit your Delete key on your keyboard again.
17. Go up to the Selections tab at the top and choose Select None. Here's mine so far:
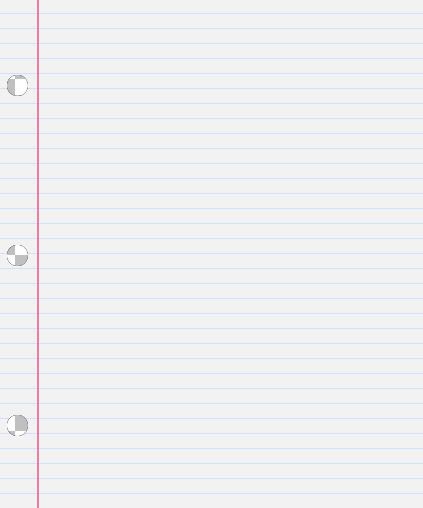
* You'll notice you have a fuzzy black outline around your holes. That's the slight remains from our cut holes, and we need to get rid of those.
18. In the layer palette, click on your top layer (which was your black dots before we deleted them) and click the delete button or right click on the layer and choose delete.
19. Right click on one of the layers in the layer palette and choose Merge then Merge Visable.
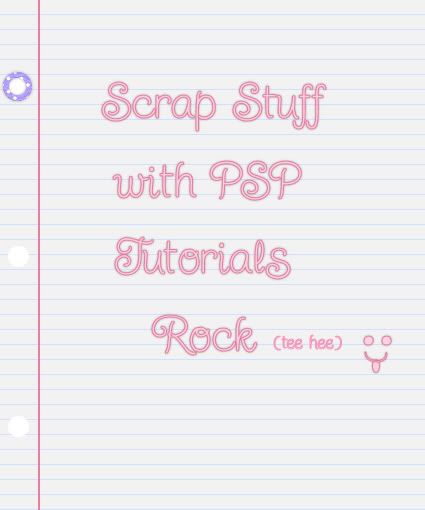
You can spiff up your paper by making some of those thingamajiggs that you stuck over the holes when the paper used to rip out of your binder, or rip a corner off, stain it ect.....
TOU:
If you do this tutorial, your end result is yours to do whatever you wish; give it away as a freebie, use it as part of a kit, or sell it for profit. You may not make this into an action or script to give away as a freebie or to sell for a profit. A mention or a link back here would be appreciated but is not mandatory. Please do not share the supplies or tut through email or any other means, send them here to my blog to get the supplies and tut for themselves.


Thank you very much for this tutorial and the supplies. I'll deifinetly try it.