


This is a very quick "How To" on getting an even, sharp edge on your ribbons when snapping them to a frame. All supplies included in the zip file are in .PNG format, so i'm assuming this can be done in photoshop as well.
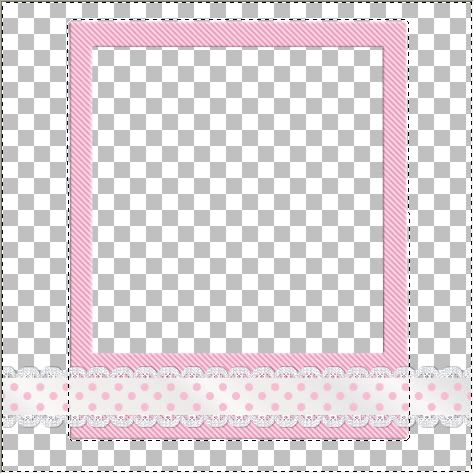
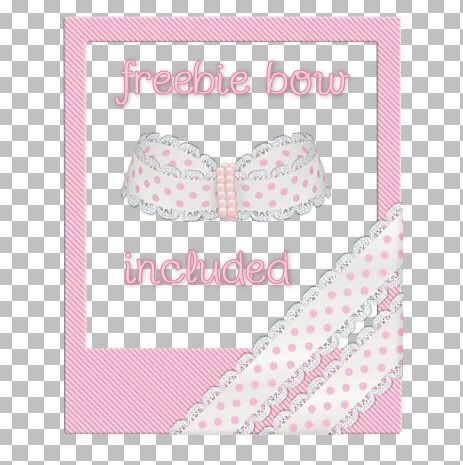
Supplies provided: sample frame, 2 sample ribbons, and a freebie bow. All can be downloaded HERE
* Before we even start, when doing this technique on a different frame, there must be NO DROP SHADOW on the frame or ribbon before snapping it to the frame, or you will not get a sharp even edge.
1. Open up your sample ribbon and your sample frame from the zip.
2. Copy and paste the ribbon on top of the frame layer.
* I've included 2 sample ribbons for you to try out. One is a straight ribbon, the other is a diagonal ribbon. Choose which ever one you want to try out first.
3. Place the ribbon in the direction you want it to appear on your frame, either straight across the bottom, or diagonally.
4. In the layers palette on the right, click on your Frame layer to make it active.
5. Click on your Magic Wand tool and change your settings to the following:
Mode is replace, Match mode is RGB Value, Tolerance is 4, Feather is 0, Anti-alias is checked.
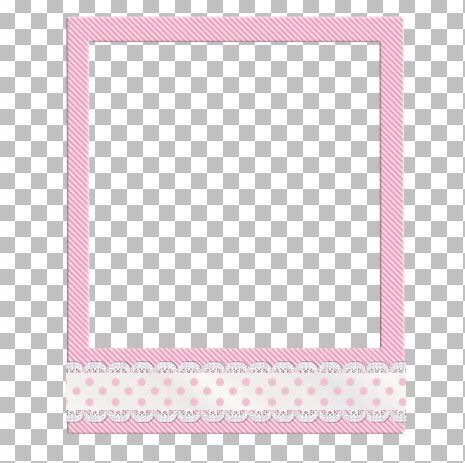
6. Click once with your magic wand somewhere on a blank space OUTSIDE of your frame. You should have what looks like this:
7. In the layers palette on the right, click on your Ribbon layer to make it active.
8. Now hit the Delete key on your keyboard. The extra pieces of ribbon on the sides of your frame should now be gone.
9. Go up to the Select tab at the top, and choose Select None to get rid of the marching ants.
* Darken the edges a bit to make it appear like the ribbon is folding around the sides of the frame. You can use either the Dodge/Burn tool, or the Lighten/Darken tool. I prefer the Lighten/Darken tool.
10. Click on your Lighten/Darken tool on the left. Choose the default soft round brush, size 20 and an opacity of around 38.
11. Make sure your ribbon layer is still selected, and just give the edges a stroke or two. Since our ribbon is mostly white, we don't want it to dark, just something very subtle. Here's mine:
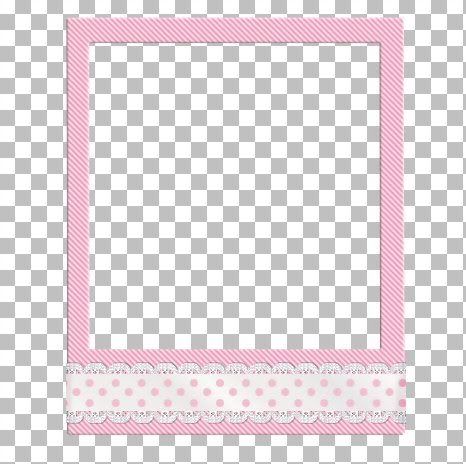
You can also have diagonal ribbons, add a bow or some other elements and you've got yourself a nicely decorated little frame.
TOU:
All supplies provided in this tutorial are for learning and personal use only. They serve the purpose of aiding you in doing this tut and are not to be used for commercial, monetary gain. You may use them for personal projects for yourself, but do not give them away as part of a kit or freebie, or share through email, groups ect......


Hi i jus wanted to write you a lil note saying THANKS SO MUCH! I never knew that you could do that! I have always jus erased mine! So that is an awesome tutorial!!!
Jenn