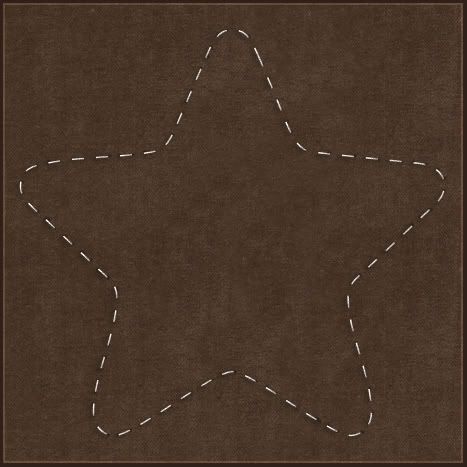
Stitching Into A Shape:
Supplies: Star shape if you don't have it Download Here
* This tutorial will show you two things: how to shape your stitches into pretty much any design you want, and how to make styled lines for your stitches. First off, styled lines.
* You can use styled lines with the pen tool, preset shapes or text. I had wanted to do some stitching around a star shape I made and really had never shaped my stitches before. I normally have just used a straight line when putting stitching on ribbons n such, so I'd never really given it much thought on how to get them to go around a particular shape. I googled forever and got nowhere, the old fart Jeeves had no clue either, so after my frustrating search, and a few hours of poking around psp, I finally figured it out. And, i felt a little silly that it took me that long to do it lol. Anyway, it's done with styled lines. I thought the dashed line that comes with psp didn't look right, they were to short and close together, so back to google and trying to figure out how to make my own. It's pretty simple and I'll give you the basics.
1. Open up a new canvas about 500 by 500 pixles, and flood fill with a dark shade. I'm using #523D2E. That's just so we can see our stitches better.
2. Set your foreground to white and turn off your background. ( click the circle with the line going through it that is under your background materials palette to turn it off)
* Actually, I don't use white, I use #EFEFEF. I find the white is too harsh, but you can use either.
3. Click on your Preset Shapes tool and choose a shape. I'm using a star and have included it in the zip if you'd like to use the same shape. Anti-alias and Create as Vector are both checked, and Line Width about 1.50.
4. In the Line Style box at the top, click on Solid, then go back up to the Line Style box and in the bottom right corner, click on Custom. This is probably what you should see. I'm using PSP8 so yours may look slightly different.
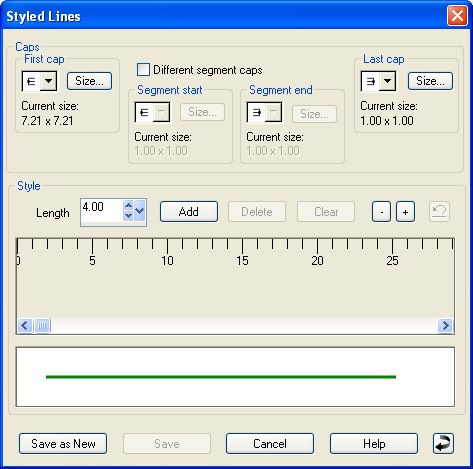
* We are going to edit this solid line into dashes for stitches.
5. Click once on the Add button. You will notice that your solid line in the preview window has changed to a dashed line.
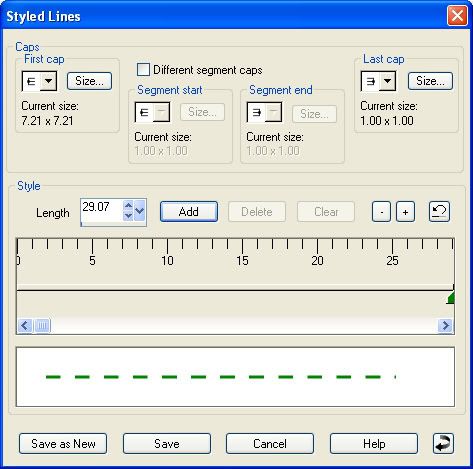
6. Now we are going to change the spacing in bewtween each dash. This takes a little bit of experimentation depending on what you want, but start out by typing in the number 12 in the box beside the Add button.
7. Click the Save As New button (always click save as new so that you don't destroy the solid line that we are editing).
8. Give your new line a name and click OK. It's helpful if the name you give to your line has the Length you chose in it so you will remember what it was if you are unsatisfied with it and want to modify it. I've named mine SK Dashed 12.
9. Your line is automatically selected as the Line Style, so with your star shape selected as your preset shape, hold down your shift key and drag out your shape. This is what mine looks like:
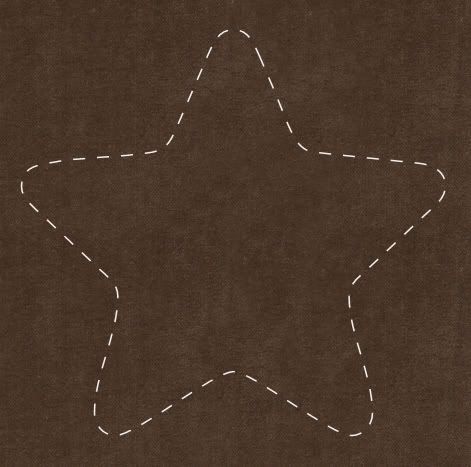
10. Right click on Vector 1 and choose Convert to Raster Layer.
* It looks ok, but it would look better with some texture, bevel and shadows.
11. Next give it a bit of texture by adding noise. Go up to the Adjust tab, then over to Add Noise. Put the green dot in Uniform, 45 for the amount and Monochrome is checked.
12. With your stitches layer selected in the layer palette, go up to the Effects tab, over to 3D Effects and choose Inner Bevel and use these settings:
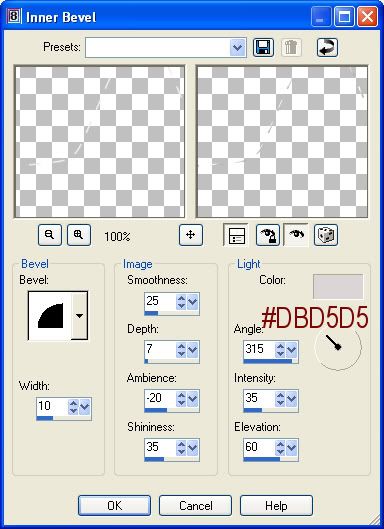
* This next step is a bit tedious but neccessary if you want your stitches to look as real as possible. We're going to put little black shadow dots under the ends of each stitch. Your settings will vary depending on what colour background this is going to be placed on once you're done. Since this is a dark background, we need to use a darker colour so it will show up on the paper. If you were using a light background you would use a shade of grey instead of black.
13. Make a new layer and drag it under your stitches layer.
14. Set your forground colour to #221D12.
15. Click on your Paint Brush tool and choose the default round, size about 4, hardness 50, Density and Thickness is 100, Opacity about 70.
16. Start at the top and place a black dot under the ends of each stitch.
* Don't let them stick out too far from your stitch or it won't look realistic. Since we are on a new layer, you can always erase a bit if you make a mistake. Here's what mine turned out to look like so far:

17. Merge visable those 2 layers when satisfied. (turn off your background layer and right click on one of the remaining layers and choose Merge, then Merge Visable).
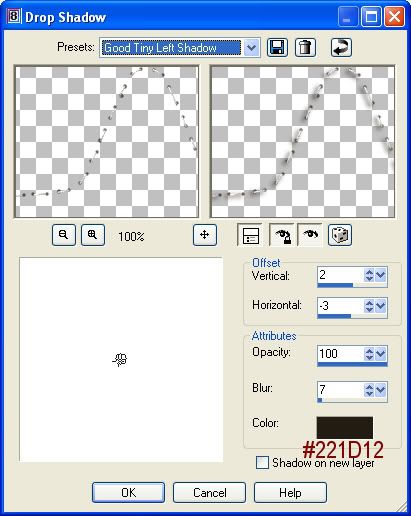
18. Play with your drop shadow settings too see what looks good against whatever background paper you've chosen. Here's my settings for this one:
TOU:
If you do this tutorial, your end result is yours to do whatever you wish; give it away as a freebie, use it as part of a kit, or sell it for profit. You may not make this into an action or script to give away as a freebie or to sell for a profit. A mention or a link back here would be appreciated but is not mandatory. Please do not share the supplies or tut through email or any other means, send them here to my blog to get the supplies and tut for themselves.


OK, I love all your tutorials. But for this one I could kiss you!!!