Get the Silvery Gradient I used here Scroll down to where it says SET 7 for all versions, and download that folder. It is called pj7-silvery grey. Put this into your Gradients Folder.
Rounded end line style: In the Zip. Download it Here Put this into your Styled Lines Folder. I can not find where I downloaded this from, so if anyone recognizes the name on it, please let me know so I can give proper credit and a link.
EyeCandy 4000: Eye Candy Trial Version Here
Just a side note about the above link. Since EC 4000 is a paid program, I cannot include it in this tut. The link above provides you with a full version of Eye Candy 3, and a demo of EC 4000. I think it insalls both versions onto your computer. It's the only link I could find. If you can find a better one, let me know.
1. Start out by opening a 200 x 200 transparent image.
2. Choose a silvery gradient similar to the one in the picture below, or use one of your own.
3. Set pj7-silvergrey gradient to both your foreground and background. Linear Style, Angle and Repeats are set to 0. Your material palette should look like this:
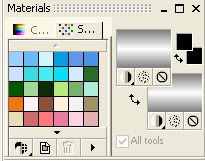
4. Click on your Pen tool. Create as vector is checked, Line type is Line Segments, Line style is Amc round end solid, Anti-alias is checked and a Width of 8.
5. Hold down your shift key, and draw a straight, horozontal line the size you want your staple to be.
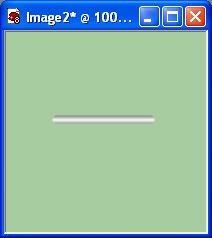
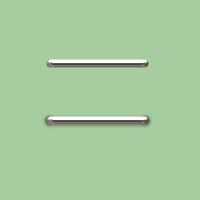
I've used a green background so you can see it better. The ends of the line you drew should be rounded.
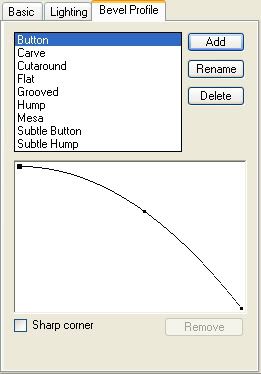
6. Go up to the Effects tab, then to Plugins, then to Eye Candy 4000 and choose Chrome. Use these settings:
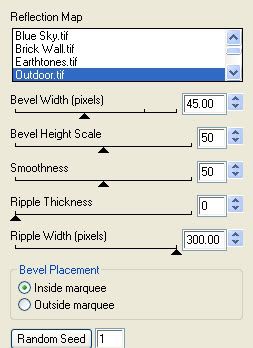
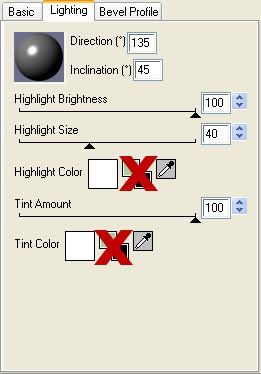
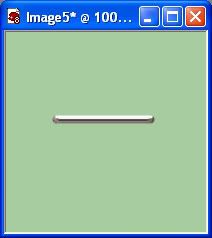
Yours should now look like this:
To make it look realistic, we need to put a small shadow at each round end, and a slight drop shadow to give it some depth.
7. Activate your Airbrush tool. Set it at the Default Round brush, Size is 11, Hardness is 50, Step 25, Density and Thickness is 100, Rotation is 0, Opacity is 50, and your foreground colour to #131111.
8. Make a new layer and move it under your staple layer. Now, we don't want this shadow to go too far past the end of the staple or it's just going to look unnatural. Position your airbrush tool somewhere on your canvas and click it once.
9. Activate your mover tool, and move the shadow dot under the left end of the staple just so it is slightly visable. Copy and paste the shadow dot back on to your canvas and move it under the right end of the staple.
10. You should end up with something like this:
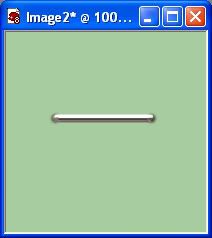
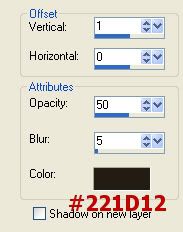
11. Activate the layer that has your staple on it. Go up to the Effects tab, choose 3D Effects, then choose Drop Shadow and use these settings.
That was pretty simple wasn't it? Try making paperclips, brads, or eyelets too.


Hi Shawna,
I would like to give you a HUGE THANK YOU for all that you have shared here. I have been here for hours and playing with some of your tutorials and just love it here. It is so hard to find this type of resource for us PSP users. I cannot wait to see what else you will have to share int he future.
Your site is definately and A++ in my book!!
Have a fantastic day
Diane W
(AKA Angel Wolf)