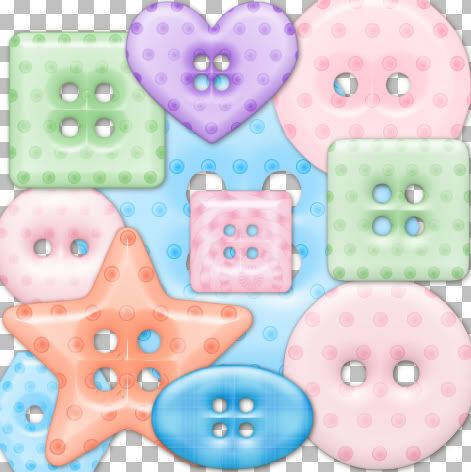
Supplies Needed:
Eye Candy 5 Impact: Download Trial Version Here
Mura's Meister Copies: Get It Here This plugin is optional. It's used to duplicate the polka dots, but it's not mandatory for this tutorial.
Button/Buckle Shapes: You can download my shapes from my blog:
Buckles Here
Buttons Set #1 Here
Buttons Set #2 Here
Buttons Set #2 Here
1. Open up a 500 x 500 new transparent and set your foreground and background to whatever colour you choose, or you can use a gradient for this as well. I'm going to be using this baby blue #9CDDFE.
2. Click on your Preset Shapes tool, and choose one of the button or buckle shapes. Hold down your Shift Key, and draw out your shape.
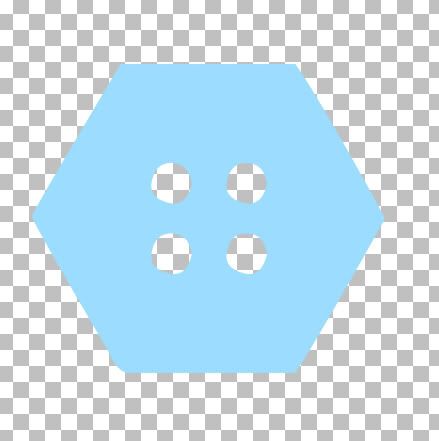
It's pretty flat, plain and boring, so I'm gonna spiff it up with some polka dots.
3. In your layer palette, right click on Vector 1 and choose Convert to Raster Layer.
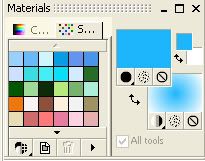
4. Change your foreground to a darker shade of blue. I'm going to be using #1DB6FD. And change your background colour to white.
5. Click on your background colour again, navigate to the Gradient tab, and scroll down till you find Foreground-background and click on that. Set the properties to: Style is Sunburst, Angle and Repeats are both set to 0, Horozontal and Vertical Center Points are both set at 50. Your palette should look like this:
6. Click on your Preset Shapes tool, and set it to Elipse. Draw out a tiny circle (the size you want your polka dots to be) onto your button layer. Move the dot to someplace close to the middle of your canvas, so you will be able to see it in the view tab of this next plugin we are going to use.
7. In the layer palette to the right, right click on Vector 1 and convert it to a raster layer.
8. Go up to the Effects tab, then to Plugins, then to MuRa's Meister and click on Copies. Change the settings to what I have in the picture below. Depending on the size of your button, you can change the spacing of the dots by moving the Number slider up or down.
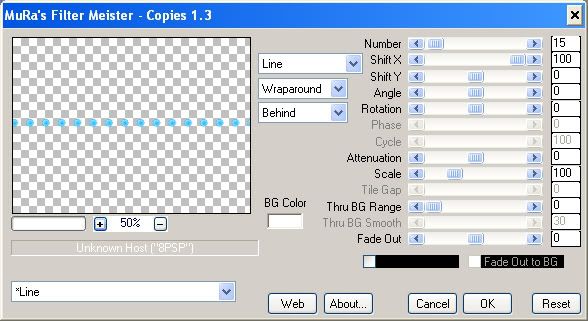
9. Now you have a perfectly straight line of dots. From the Edit tab, copy and paste the line, as a new layer, over and over onto your button layer as many times as you like to get the look that you want. This is what I ended up with.
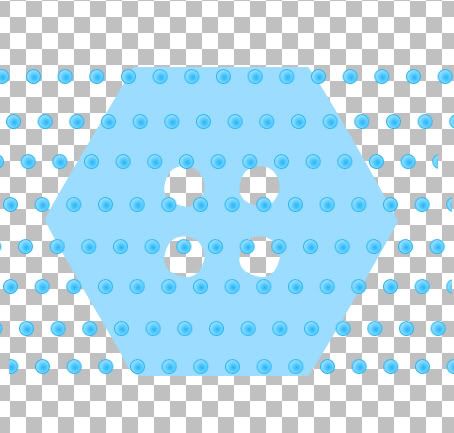
10. When you are satisfied with the spacing of your dots, turn off the button layer, (click the tiny Eye icon next the the layer that your button is on in the layer palette), and then right click on one of your dot layers and from the flyout choose Merge then Merge Visable.
11. Turn your Button layer back on. Now, click on your eraser tool, and erase all the extra dots that fall outside of your button. Make sure that the merged dot layer is highlighted blue in your layer palette to the right and not the button layer.
12. When that's done, merge visable all of your layers.
13. Go up to the Effects tab, choose Plugins, then choose Alien Skin Eye Candy 5 Impact, then choose Bevel, and use these settings.
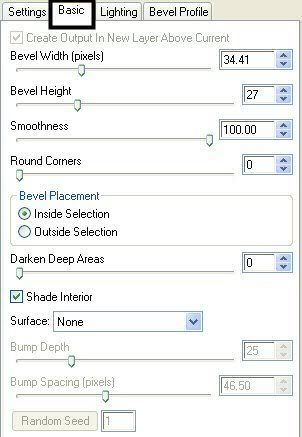
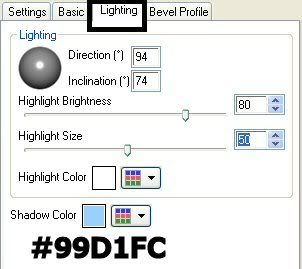
On the last tab labled Bevel Profile, choose Button.
If you like this setting and want to reuse it at another time, on the Settings tab, click the Save button and give your new preset a name.
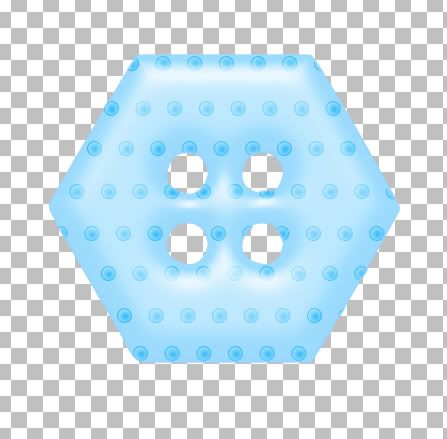
This is what I ended up with:
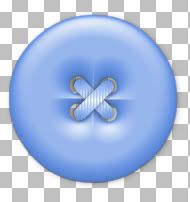
This small round button uses EC5 Impact as well, I've just added some ribbon thread to the middle
This is a Christmas charm I made out of a heart shape, one tear drop shape, and an oval shape. I just added some snowflake tubes and some text. The tut I used is called Winter Ice and you can view it Here

TOU:
If you do this tutorial, your end result is yours to do whatever you wish; give it away as a freebie, use it as part of a kit, or sell it for profit. You may not make this into an action or script to give away as a freebie or to sell for a profit. A mention or a link back here would be appreciated but is not mandatory. Please do not share the supplies or tut through email or any other means, send them here to my blog to get the supplies and tut for themselves.


Wow, what a fantastic tut and so easy even *I* could do it, lol. Thanks so much. :)