


Supplies:
Place both of these plugins into the plugins folder, wherever that may be on your computer.
Download Mura's Meister Clouds HERE
Download texturizer plugin HERE
1. Open up a fairly large transparent canvas, a bit bigger than you want your paper to be so we have some room around the edges.
2. Click on your Selection tool, and draw out a rectangle shape the size that you want your paper to be.
3. Set your foreground colour to e2c9a0 and your background colour to f9ebd7.
4. Go to the Layers tab and choose New Raster Layer.
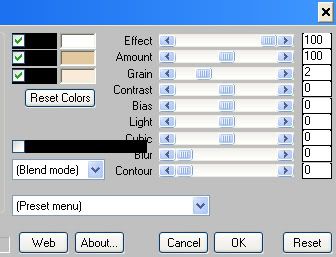
4. Go up to the Effects tab at the top, then down to Plugins, then find Mura's Meister,then choose Clouds. Use the settings below:
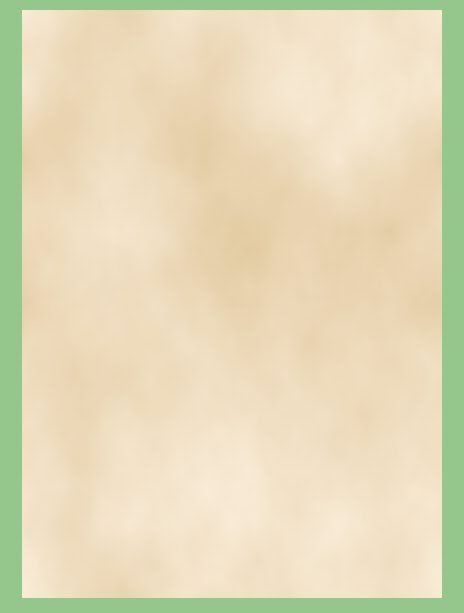
You should have something similar to this:
5. Go up to the Select tab, and choose Select None.
* Now we are going to make the edges a bit jagged, and add a few tears.
6. On the tools bar at the left, click on your Freehand Selection tool.
* You may want to add a new layer and put a darker colour background behind your paper layer in order to see your paper edges better.
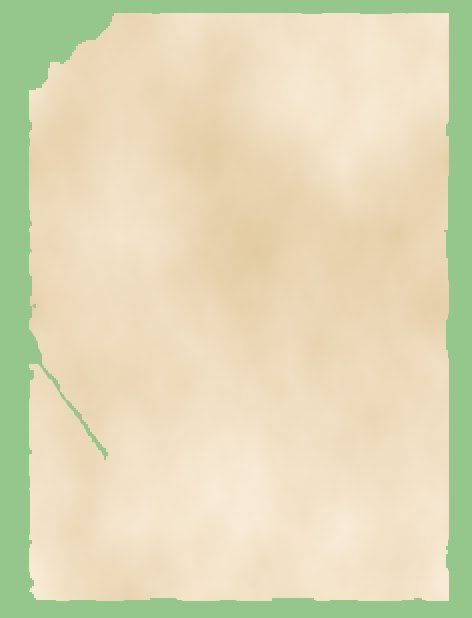
This next part is totally up to you to decide how much or how little you want your paper to have jagged edges and tears. I'm just going to tear off a corner, and maybe take a few little pieces out here and there.
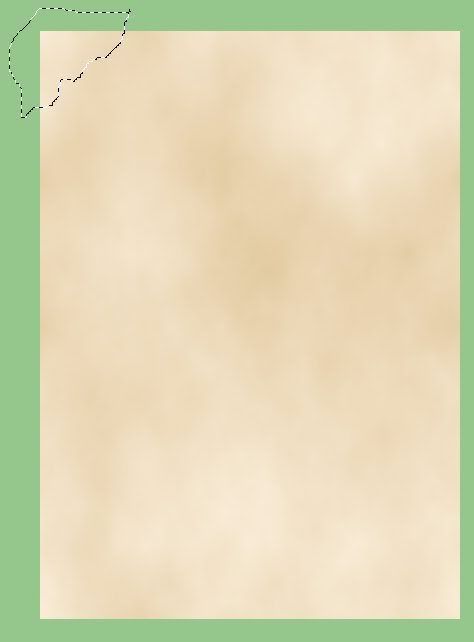
7. Make sure your paper layer is selected in the layers palette. Click and hold down your Freehand Selection tool once on the outside of your paper layer and just drag your cursor to outline the top left corner of the paper. It doesn't matter what the lasso looks like on the outside of the paper corner, but the part that is actually touching the paper is how jagged it will look once you delete the actual corner.
8. Hit the Delete key on your keyboard.
9. Go up to the Select tab, then to Select None.
10. Repeat these steps as many times on different parts of your paper to get the ripped or jagged look that you want. I did a few more and this is what I ended up with.
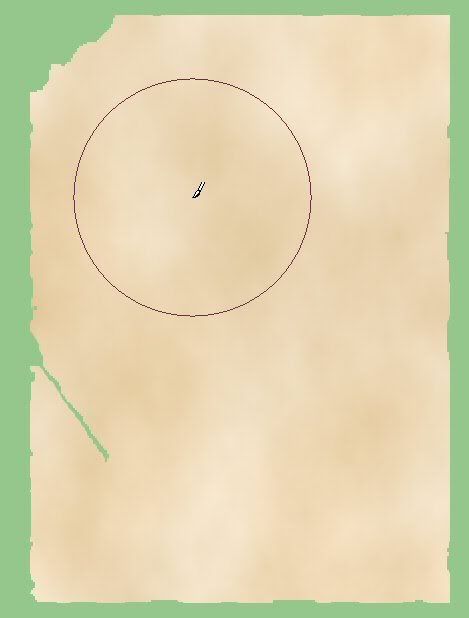
11. Select your Lighten/Darken tool, use the Default soft round brush, increase the brush size to somthing like in the picture below.
Hardness is 27, Step 25, Density and Thickness is 100, Opacity is 30. Just give your canvas a few strokes to give it a bit of shade. Use your Right click for the darkening shade.
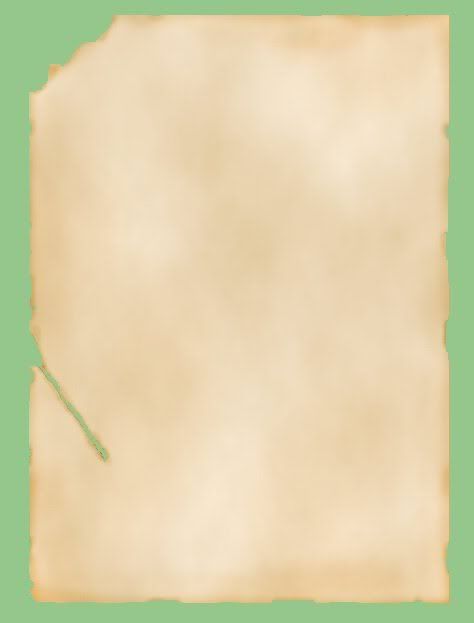
13. Still working with your Burn tool, decrease the brush size to about 30 and change the Opacity to about 38%. Do some swipes around the edges of your paper to burn those. This is what I ened up with:
* Stains, scratches, and dirt brushes are a good way of grunging up your paper a bit, so it doesn't look so smooth. I downloaded these brushes from ariadne-a-mazed at deviantart to get some waterstains. They are in .abr format, which is a photoshop brush file, but if you go to my PSP Tutorial Blog it will explain how you can use .abr photoshop bruses with PSP.
14. If you haven't already, load the stain brushes. Don't switch to your paintbrush, we are still going to be using the Lighten/Darken tool with these.
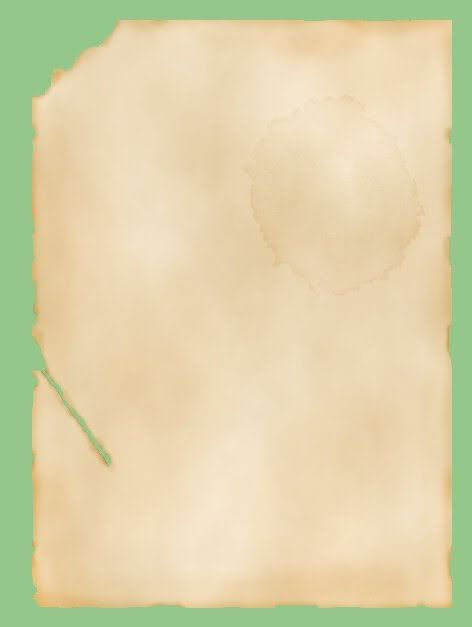
22. With the Lighten/Darken tool still selected, choose a stain brush to use, select an appropriate size for your project, and position your brush somewhere on your page and click your mouse about 4 times in the same spot.
* Take a look at your page, if you want it darker or lighter, click the Undo button under the Edit tab 4 times to undo your water stain and try again. This is what I ened up with:
16. Continue on with your stains and scratches to dirty up your page.
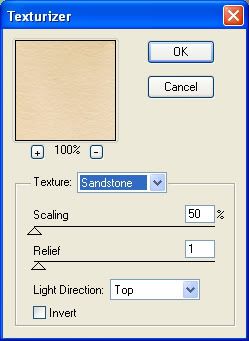
17. Give your paper a texture. Go up to the Effects tab at the top, down to Plugins, then to Texture then to Texturizer, and use these settings:
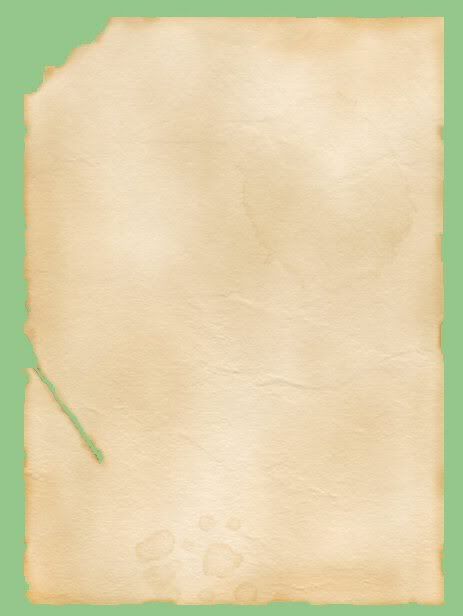
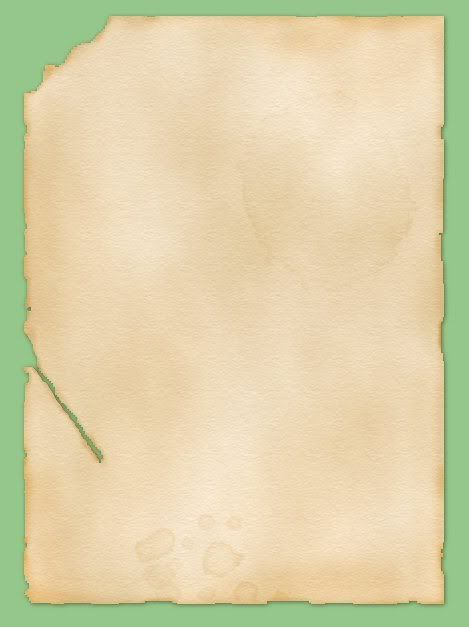
This is my final result:
* You can use this technique to make old frames, polaroids, ect......... and try using other textures such as crumpled paper.
TOU:
If you do this tutorial, your end result is yours to do whatever you wish; give it away as a freebie, use it as part of a kit, or sell it for profit. A mention or a link back here would be appreciated but is not mandatory.


I haven't tired this yet, but I can't wait. Thank you for sharing your knowledge.
darlene