


The EC 5 sticker preset can be downloaded Here. Place the bevel into your EC 5 Impact bevel folder.
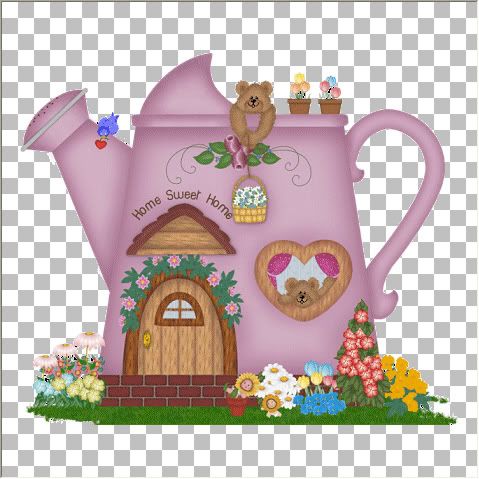
Start by opening up the image you are going to use. If it's an image with a background that you don't want, you need to erase the background like you would if you were going to tube it. See example picture below.
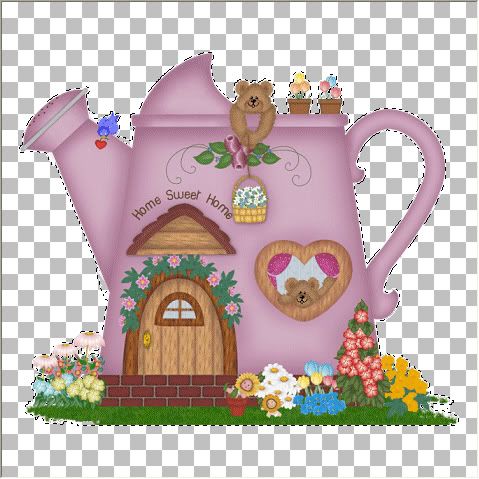
Make sure your canvas is larger than your image with a good amount of blank space all around it. Next, add a new layer and fill it with white or a colour/pattern of your choice. In your layer palette to the right, select your image layer and go up to the "Selections" tab and choose "Select All", then "Float", then "Defloat". Your image should have marching ants around it like in the picture below.
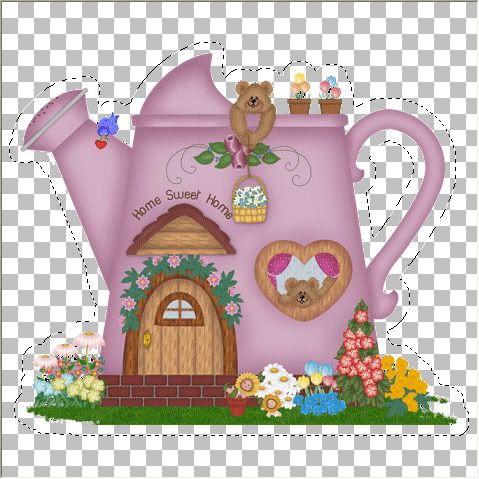
Next, go up to the Selections tab, and choose "Modify", then "Expand". I've chosen to expand by 10 pixels, but your number will depend on how big or small of a sticker border you want. If you've chosen 10 like I have, it will look like the picture below.
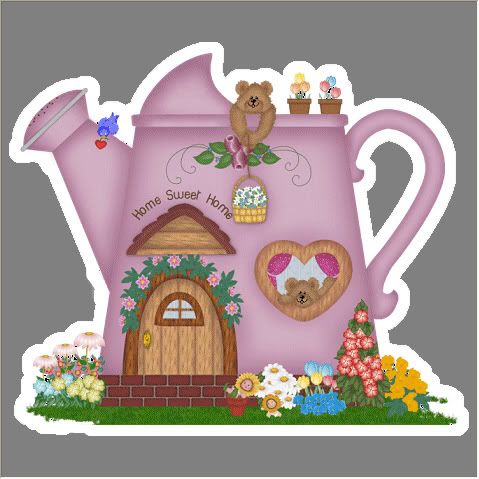
Do not deselect. Right click on a layer in your palette and select "Merge Visable". Your layers should all be merged into one and your merged image should still look the same with the marching ants expanded all around it. Go to the "Edit" tab and select "Copy". Open up a new transparent image, and paste your copied image into there. It should now have a 10 pixel white border around it as in the picture below. I've added a grey background so it is easier for you to see the white border.
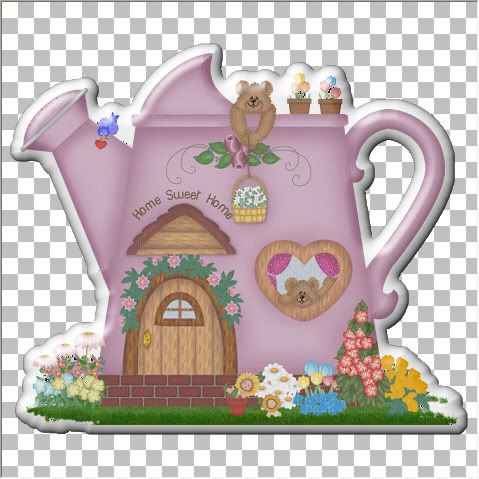
Go to the "Effects" tab, then to "Plugins", then to "EyeCandy 5 impact", then to "Bevel". With the "Settings" tab selected, under the "Factory Settings", select the preset "My Puffy Shiny Sticker Bevel", and click ok and you're done. You can also play around with the lighting to get a lighter or darker shine effect.
TOU:
If you do this tutorial, your end result is yours to do whatever you wish; give it away as a freebie, use it as part of a kit, or sell it for profit. You may not make this into an action or script to give away as a freebie or to sell for a profit. A mention or a link back here would be appreciated but is not mandatory. Please do not share the supplies or tut through email or any other means, send them here to my blog to get the supplies and tut for themselves.


This is an excellent Tutorial For shiny Puffy Stickers!!!! I followed this tut more easier then most tutorials out there!!!