Supplies Needed: Texturizer plugin which you can get HERE
My Supplies: Which you can get HERE
1. Start out by opening up a 400 x 400 transparent image.
2. Open up from my zip, SK Quilting Fabric 01 and set it as your foreground pattern.
3. Flood fill your canvas with it. You should have what looks like this now:
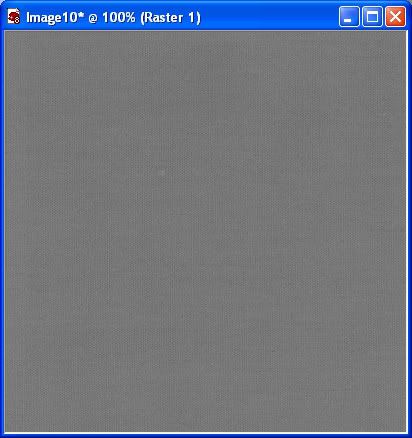
* This fabric swatch is a bit dark, so we are going to lighten it up a little.
4. In the layer palette on the right, right click on your fabric layer and go to New Adjustment Layer then to Brightness/Contrast. It may also be found under the Adjust tab at the top. Set the brightness up to 35 and click OK.
5. Right click on one of the layers and choose Merge, then Merge Visable.
* Now we are going to change the fabric from grey to another colour.
6. Go up to the Adjust tab at the top, then to Colour Balance, then over to Manual Colour Correction.
* * I'm using PSP8, but in later versions of PSP, the manual colour correction option may be hidden. Go to this site Khiba's, and scroll down to where it says "Custominze! Retrieve Unused PSP 9 Tools" and watch her little viewlet. It will show you how to unhide the maual colour correction option.
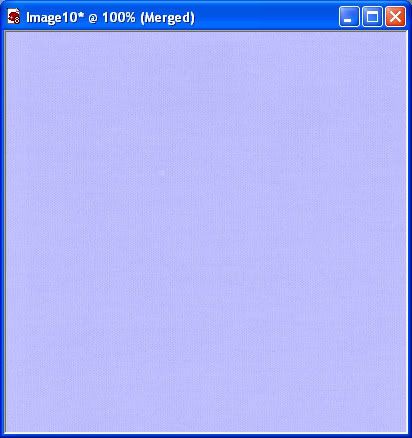
7. Click on the coloured box under Source and from the colour properties box change the colour to #9D9D9D, then click on the coloured box under Target and change it to #C0C0FF then click OK. You should have this:
* Now for the quilting part with the Texturizer plugin.
8. Go up to the Effects tab at the top, down to Plugins, over to Texture, then to Texturizer.
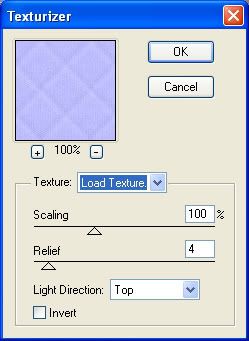
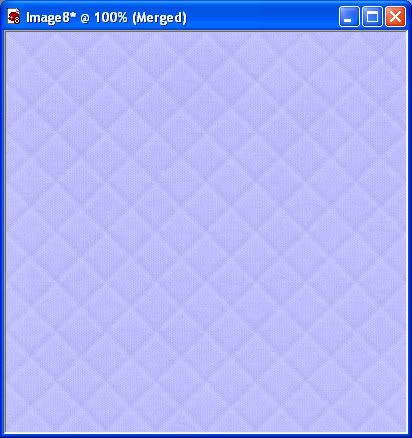
9. Click on the down arrow in the little box beside the word Texture, then click on Load Texture. Navigate to where you unzipped my files and click once on SK Quilt 50 x 50.psd to select it, then hit the Open button and it will appear in your texturizer settings box. Change the other settins to the same as in the picture below:
You should now have this:
* I've included several different quilt sizes for the texturizer plugin in the supplies zip for you to experiment with on other projects.
Now for some simple edge stitching......
* I'm not sure if this is a default font or not but just incase, I've included it in the supplies zip.
1. Open up ARDS1 font from the supplies zip and minimize it.
2. Click on your Text tool on the left and go up to the font box at the top and find ARDS1 and select it as your chosen font. Font size is 14, Stroke width is 0, Anti-alias is checked, Line style is Solid, Auto kern is UNchecked, Kerning is -132, Leading is 0.
* We are going to increase our canvas just a little so we can see all the outter edges.
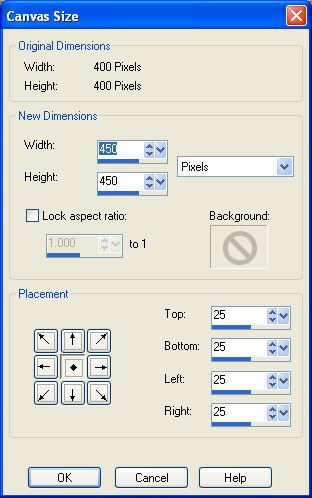
3. Go up to the Image tab at the top, and click on Canvas size. Our canvas we are working on is 400 by 400 and we want to increase it by 50 pixels all around, so starting in the New Dimensions section, change your settings to the ones in the picture below:
4. Change your foreground and background colours to white.
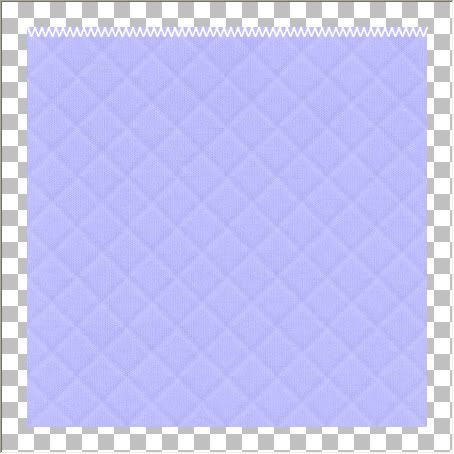
5. Click once with your cursor at the beginning top corner of your purple quilt layer and your text box will pop up. Hold down the letter v on your keyboard and it will begin to type out a series of v's that are very close together. Let go of the v key when you've reached the opposite edge of of your purple quilt. Click Apply when you are satisfied with what it looks like. Here's mine:
6. In the layer palette on the right, you'll see Vector 1, right click on it and choose Duplicate. We now have 2 identical layers of stitching.
7. Click on Vector 1 to activate it, then click on the + sign in front of it and you will see A vvvvvv as another layer under Vector 1.
8. Right click on the A vvvvv layer and from the flyout choose Convert Text to Curves, then choose As Single Shape.
9. Double click on the vvvvv layer and your Vector Properties box will pop up.
10. Click the white coloured box under Stroke, then change the colour number to #6E5E3E and hit OK.
11. Click on the white coloured box under Fill and change this to #6E5E3E also and hit OK, then click OK on the Vector Properties box.
* Doing this gives our stitches a bit of a thread look rather than having it just very smooth and white. Kinda looks fake that way in my opinion. Now it looks more like stitches and a lot less like v's.
12. In the layer palette, right click on one of the stitches layers and choose Convert to Raster Layer and then do the same for the other stitched layer.
13. Turn off your purple quilted layer by clicking once on the eye icon beside it, and now right click on one of your stitched layers and choose Merge, then choose Merge Visable.
* Now for the pain in the butt part. Putting those tiny black dots under each stitch. I hate doing this and fiddled around and experimented till I found a shortcut, so i'm going to show you my way. If you prefer the other way, create a new layer and place it under your stitch layer. Set your foreground to black and with your paintbrush set at about 4 or so, put a dot under each top and bottom point of your stitches. Merge those two layers when done. Here's my way.
14. In the layer palette, right click on your stitches layer and choose Duplicate. You should have Copy of Merged in the top position in the layer palette.
15. Go up to the Adjust tab at the top, and then all the way down to Negative Image. The copy of your stitches layer should have turned all black.
16. Drag the black stitches layer under your white stitches layer in the layer palette.
17. Set your foreground colour to black or any colour other than white.
18. Click on your Pen tool on the left. Continuous and Create as Vector are both checked, Mode is Drawing Mode, Segment Type is Line Segments, Line Style is Solid, Width is 4, and Anti-alias is checked.
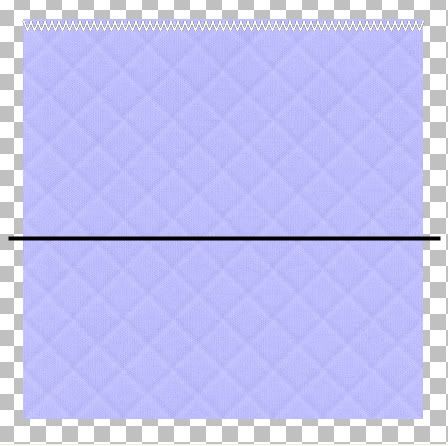
19. Hold down your Shift key and drag out a straight line making sure it extends beyond the edges of your purple quilted layer. See pic below:
20. In the layer palette, right click on that layer and choose Convert to Raster Layer.
21. Drag that layer above your stitches layer in the layer palette, and then with your Mover tool, position the black line evenly in the middle of your stitches line.
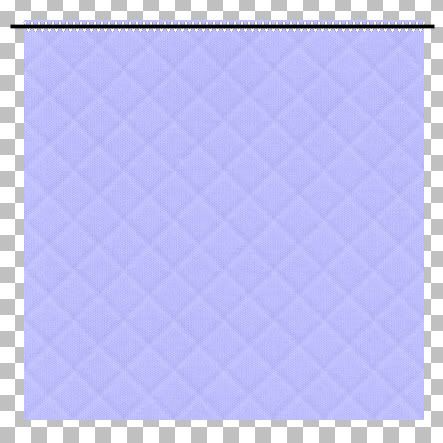
22. Go up to the Selections tab at the top, choose Select All, up to the Selections tab again and choose Float, back up to the Selections tab and choose Defloat. You should have marching ants all round your straight black line.
23. Hit the Delete key on your keyboard.
24. In the layer palette, click on the layer that has the Black stitches on it and hit the Delete key on your keyboard again.
25. Go up to the Selections tab and choose Select None.
26. You'll notice you have an outline of black left over from the straight black line on your canvas. Right click on that layer in the layer palette and choose Delete.
27. Now, turn off your white stitches layer in the layer palette ( click the eye icon next to it to turn it off) and you will see that you now have what looks like this:
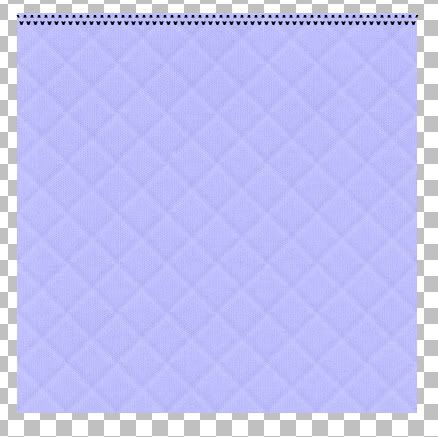
* We need to make the top half and bottom half of these black stitches into 2 seperate layers so that we can move them down a bit to match up with the points in our white stitches so.....
28. On the left, click on the Selection tool and set it to Rectangle. Make sure feather is set to 0 and Mode is Replace.
29. Draw out a rectangle like in the picture below. Careful not to touch the top portion of the black stitches.
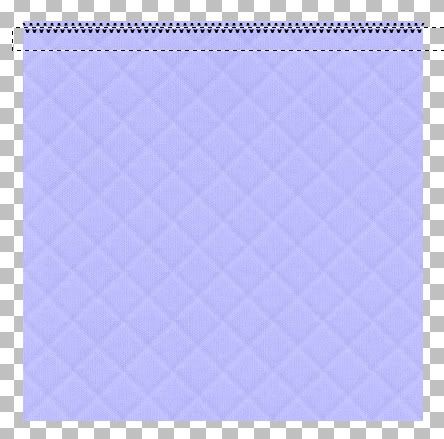
30. Click on your black stitch layer to make it active then go up to the Edit tab and choose Cut, then back up to the Edit tab and choose Paste, then Paste as New Layer.
31. Go up to the Selections tab and choose Select None.
* Now we have 2 black stitch lines that the dots are evenly seperated and will co-ordinate with the spacings in our white stitching layer.
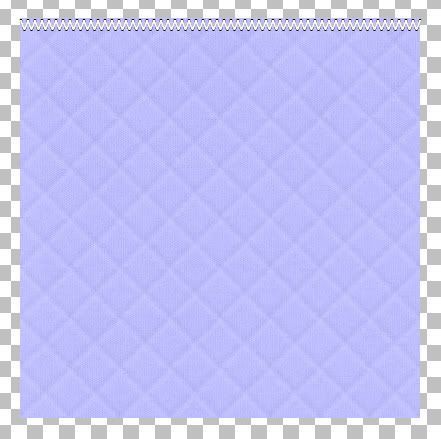
32. Turn on your white stitch layer again, select your Mover tool and move each line of black stitch dots under the white layer and line the black points up with the white points. See picture below:
33. When you've got your placement of black dots lined up with the white, turn off your purple layer and your white stitch layer and right click on one of the black dot layers and choose Merge, then Merge Visable.
* Now, those dots look a little harsh so we are going to give them a slight blur to soften them up.
34. With your black dot layer active, go up to the Adjust tab at the top, then down to Blur, then over to Gaussian Blur. In the Radius section, type in 0.75 and hit OK.
* If you like it that way, leave it as is, I lowered my opacity to about 66 on the black blur layer. Just a personal preference. Here's what mine looks like now:
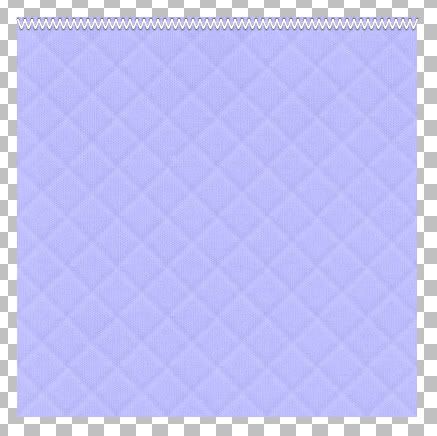
35. When satisfied with what it looks like, turn off your purple layer and right click on one of the remaining layers and choose Merge, then Merge Visable. Rename this layer TOP.
36. In the layer palette, right click on TOP and choose Duplicate, then go up to the Image tab and choose Flip. Rename this layer BOTTOM.
* You may need to adjust that stitched line slightly.
37. In the layer palette, right click on TOP and choose Duplicate again.
* A duplicate layer will appear over your top stitched line.
38. With your Mover tool, drag that new layer down to the middle of your purple quilted layer, then go up to the Image tab at the top, choose Rotate, then choose Free Rotate. Put the green dot beside Right and the green dot beside Free and type in 90.00. Make sure All Layers and Rotate single layer around canvas center are both UNchecked. Hit OK. Rename this layer LEFT.
39. Move LEFT layer over to the left of your purple quilt edge.
40. In the layer palette, right click LEFT and choose Duplicate. Move that over to the right of your purple edge. Here's what mine looks like so far:
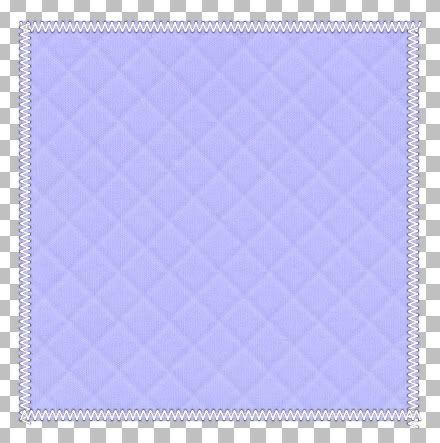
* You'll notice that you have one or two stitches that are hanging over the edges. Just grab your eraser tool and click on the layer that has the hang over and gently erase.
* This is up to your personal preference, but I like to give my stitches a slight drop shadow.
41. Click on TOP in the layer palette to make it active. Go up to Effects, over to 3D Effect, and over to Drop Shadow. I've chosen a darker shade of my purple quilt layer as the shadow colour instead of black so that it doens't darken my stitches. Also, I always put my shadow on a new layer just incase I decide I don't like it or want to change it later on.
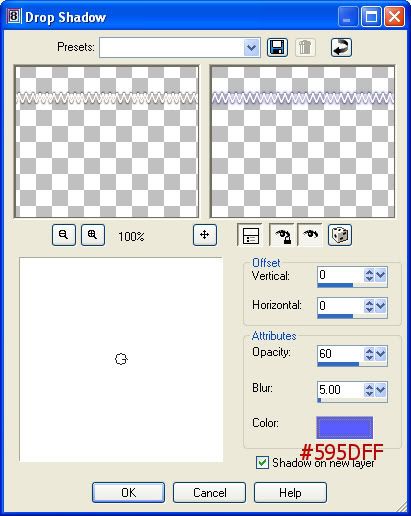
42. Click on each of the remaining stitched layers and give it the same shadow.
* Now we are going to darken the edges of our purple quilt layer.
43. Click on your Lighten/Darken tool on the left. Size about 35 to 40, Hardness is 50, Step 25, Density and Thickness is 100, Rotation is 0, Opacity is 20 and also put a checkmark in Swap mouse buttons. That way you can just use your regular mouse button to darken instead of using the right click mouse button because that can get awkward.
* I've just used a few strokes all around the edges to darken them up a bit. Lower the opacity if you think it's too dark. Here's what mine turned out like:
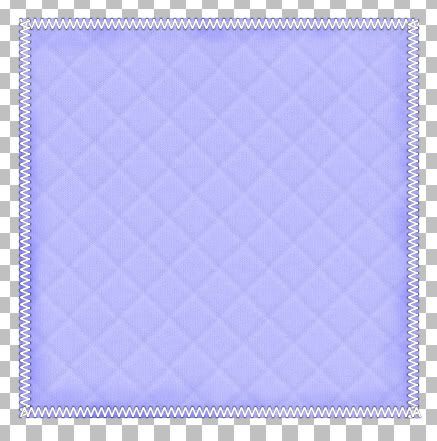
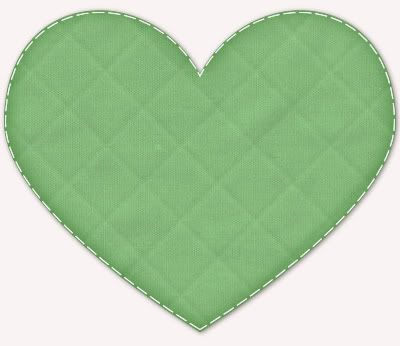
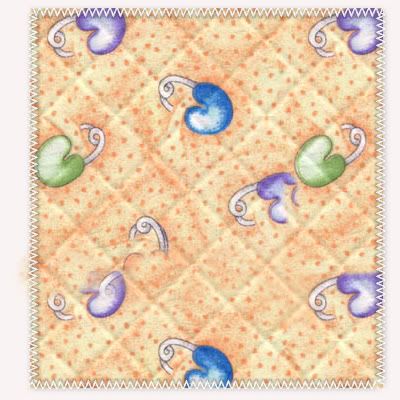
* All that's left to do is Merge Visable and you've got a quilted pattern. This stitching technique also works with x's or the letter l. You can use this quilting technique with shapes as well, and patterned paper too, but you will have to tweak the settings a bit during the Texturize part to get the quilting to show up against the pattern. Experiment and see what you can come up with.
TOU:
If you do this tutorial, your end result is yours to do whatever you wish; give it away as a freebie, use it as part of a kit, or sell it for profit. You may not make this into an action or script to give away as a freebie or to sell for a profit. A mention or a link back here would be appreciated but is not mandatory. Please do not share the supplies or tut through email or any other means, send them here to my blog to get the supplies and tut for themselves.


Thank you! Your blog post will be advertised on the DigiFree Digital Scrapbooking Freebie search engine today (look for timestamp: 11 Jul [LA 03:35am, NY 05:35am, UK 10:35am, OZ 08:35pm]).