


Needed: Eye Candy 5 Impact which you can get a free trial Here
Supplies: SK Jellybeans.f1s Download Here
Put this into your EC5 Impact Bevel folder.
1. Open up a 300 by 300 transparent image.
2. Set your foreground and background to black.
3. Click on your Preset Shapes tool on the left and set it to Ellipse.
4. Draw out a slightly oval shape onto your canvas.
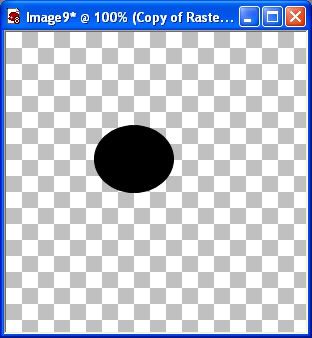
5. In the layer palette, right click on Vector 1 and choose Convert to Raster Layer.
6. Right click on your oval shape in the layer palette and choose Duplicate.
7. With your Mover tool selected on the left, move your second oval to the right like in the picture below:

8. Click on your Preset Shapes tool again, leave it at Ellipse and this time draw out a longer more oval shape like in the picture below:
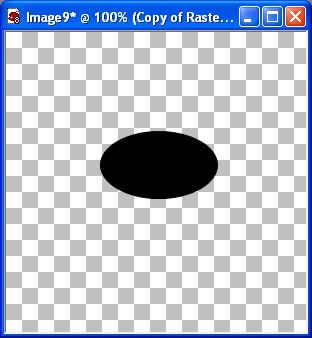
* This oval needs to be the same length as your 2 smaller ovals above it. Try and get it so that it is even with both outter edges of the 2 other shapes. See picture below for the finished shape so you'll know what I mean:

9. After you get your bean shape even and like how it looks, in the layer palette right click on the Vector layer and choose Convert to Raster Layer.
10. Right click on one of the layers in the layer palette and choose Merge, then Merge Visable.
* Now that you have your shape, here's how to colour it.
11. First, hold down your Shift key on your keyboard and hit the d key. This will duplicate our bean shape. Now you can save the original shape somewhere on your computer and close it out. We will be working on the duplicate.
12. Go up to the Selections tab at the top and choose Select All, then back up to the Selections tab and choose Float, then up to the Selections tab again and choose Defloat.
* You should have marching ants all around your black bean shape.
13. Create a new layer over that one by going to the Layers tab at the top, and choose New Raster Layer.
14. Choose a colour for your foreground, I'm using #C00000.
15. Click on your Flood Fill tool on the left, and then click once inside your new blank layer to fill it with red.
16. Go up to the Selections tab and choose Select None.
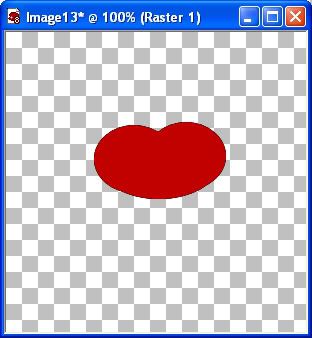
* You'll notice that you have some ugly black pixels around your jellybean. That's from the original black shape we made. It is on a separate layer under our red bean, so let's delete the black shape, as we don't need it any more.
17. Right click on your black bean shape in the layers palette and choose Delete.
18. Now go up to the Effects tab, then down to Plugins, then find Eye Candy 5 Impact from the flyout, and choose Bevel.
19. Under the User Settings on the left, look for SK Jellybeans and click it once to select it. Then hit the OK button in the top right corner.
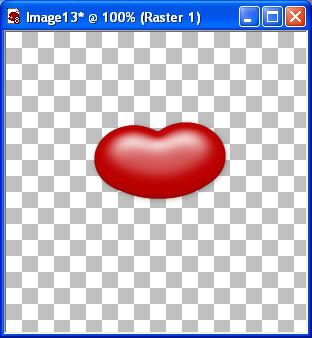
And there's your jellybean :)
When making a different colour jellybean other than the red we used here, once you get into the EC5 Impact Bevel and choose the jellybean preset, you will have to click on the Lighting tab at the top. Under Shadow Colour, change it from the dark red that is there now, to a darker shade of whatever colour you chose for your bean. No need to change anything else.
Tube your beans for easy sizing, and if want, use your burn tool at a low setting to shade in small places.
TOU:
If you do this tutorial, your end result is yours to do whatever you wish; give it away as a freebie, use it as part of a kit, or sell it for profit. You may not make this into an action or script to give away as a freebie or to sell for a profit. A mention or a link back here would be appreciated but is not mandatory. Please do not share the supplies or tut through email or any other means. If you are using this or any of my tutorials for your groups or as part of your own tutorial, please post a link to the tut on my blog and let your members download the supplies from my blog for themselves.


Thanks so much for a wonderful tutorial, just finished this one, great looking jellybeans, and cupcakes are my daughters favorite lol. I made a cupcake to go with them too. Easy to understand and simple, thanks for a great tut!