


Satin Heart Alphabet
This was written in Paint Shop Pro 8, but can still be done with other versions with a few minor adjustments if necessary. If you have any problems, or questions, feel free to contact me at scrap.stuff.with.psp@gmail.com
Supplies: Duvall.ttf, satin heart patterns. The colour for each heart is in the name of each satin heart pattern. I have included 11 (PSP and PSD) different coloured patterns for you to use.
Download Supplies Here
1. Open a new 400 x 400 transparent image.
2. Select the text tool and use these settings: Create as: floating, Font: duvall.ttf, Size: 200 or choose your own size, Stroke width: 0, Anti-alias: checked.
3. Set your foreground colour to null to turn it off (hit the outlined circle with the slash through it under your foreground colour box), and set your background colour to whatever you wish. We are going to be using this blue #69BAFB and the letter B for this tut.
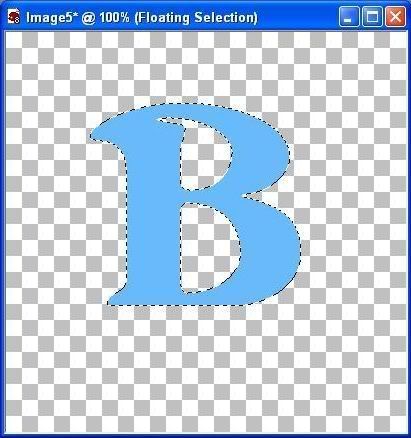
4. Click inside and near the middle of your transparent image to activate the text tool popup box, type your letter and hit apply. If a part of it is off the page, click cancel and try another spot. You should now have marching ants around your letter like the picture provided. Do not deselect.
5. Open up one of the satin heart patterns I have provided for you. Un-null your foreground colour and go to the patterns tab and select the satin heart pattern that you just opened. Angle: 0, and Scale: 100. (un-null? is that even a word? lol)
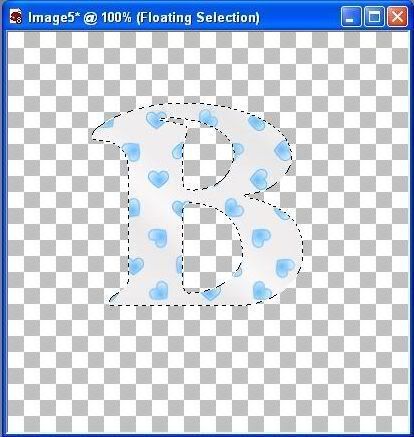
6. Select your Flood Fill tool on the left, make sure your B image is active, and flood fill the B with your satin heart pattern. Do not deselect. It should look like the picture provided.
7. Go up to the Selections tab and click Defloat, go back to the Selections tab and click on Invert. You should now have marching ants all around the border of your transparent image as well as your B.
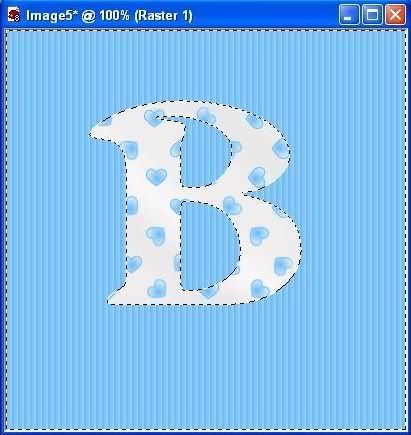
8. With your flood fill tool, right click in a transparent space in your image to fill it with your background blue colour (or whatever colour you have chosen). Your image should look like the picture provided below.

9. Next, go up to the Effects tab, and choose Texture Effects, then Blinds and use these settings. Width= 6, Opacity= 31, Colour= white, Horozontal= unchecked, Light from left/top= checked, and hit ok. The background of your B should now be filled with the blue vertical lines like the picture below.
10. Go up to the Selections tab, and click Invert. Your marching ants should now only appear around your B image.
11. Go up to the Selections tab, click on Modify, then on Expand and set the number of pixels to 4 and hit ok.
12. At this point we are pretty much done. All you need to do next is go up to the Edit tab, select Copy, back up to the Edit tab and select Paste, then from the flyout select Paste As New Layer either into your project, or into a large transparent image if you are doing an entire alphabet.
TOU:
If you do this tutorial, your end result is yours to do whatever you wish; give it away as a freebie, use it as part of a kit, or sell it for profit. You may not make this into an action or script to give away as a freebie or to sell for a profit. A mention or a link back here would be appreciated but is not mandatory. Please do not share the supplies or tut through email or any other means, send them here to my blog to get the supplies and tut for themselves.