Supplies Needed: Paint Shop Pro, EyeCandy5 Impact, My Snowflake Tubes, Font
PSP8 Trial Version: Download Here
EC5 Impact Trial Version: Download Here
Supplies Zip: Download Here
Although, this is written for PSP, I'm sure it can also be done in Photoshop as well. If you are making an alpha, you need to choose a fat font, as skinny ones do not show very well. Keep in mind, that this tutorial is to show you a "technique" and can be done on any shape, not just fonts. See examples at the end of this tutorial. You can download this already made alpha, caps and lowercase on my blog Here
1. Open up a 500 by 500 transparent image. When drawing your text or shape, be sure to leave extra room all around, as we need to move it around the canvas.
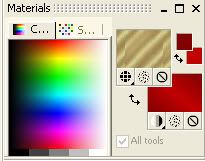
2. Set your foreground and background to #69BAFB. Open up your font in PSP, Size 350, Stroke width 1, Anti-alias is checked. Type out your S on your canvas.
3. In the layer palette to the right, right click on Vector 1 and from the flyout choose Convert to Raster Layer, then rename it to S.
4. Go up to the "Selections" tab, choose "Select All", then to the "Selections" tab again, choose "Float", back up to the "Selections" tab and choose "Defloat".
5. Go up to the "Layer" tab and choose "New Raster Layer", then name this layer Light Blue.
6. With the Blue layer active (it should be highlighted blue), Go up to the "Selections" tab, choose "Modify" then choose "Contract". Set the number of pixels to 4 and hit ok.
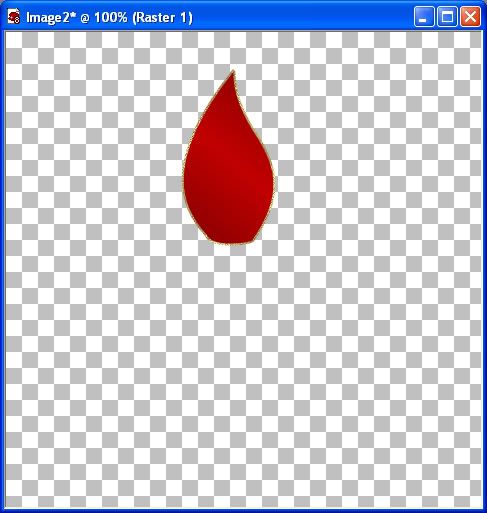
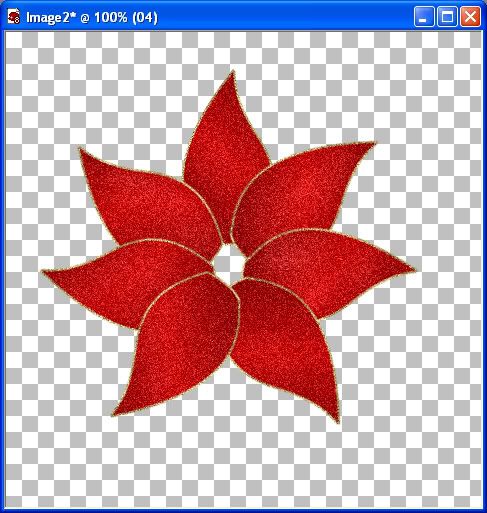
7. Change your foreground colour to #A1D6FF, and flood fill this layer with the lighter blue. It should look like the picture below
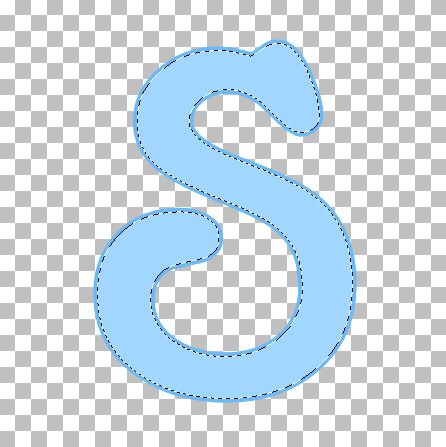
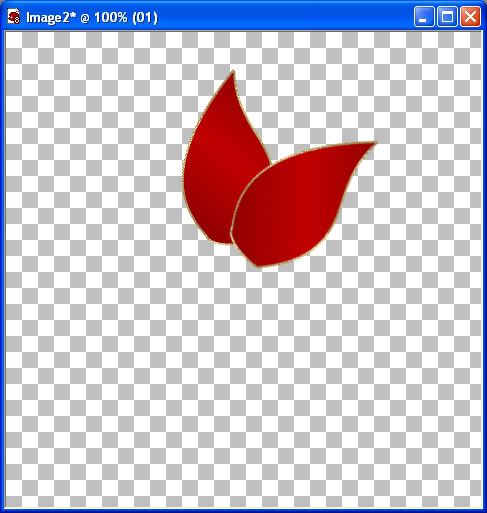
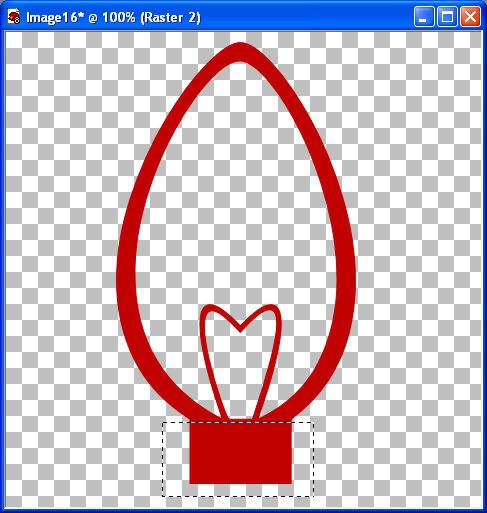
8. Now switch to your mover tool. Place your cursor on the light blue layer, and move it downwards just a bit like in the picture below.
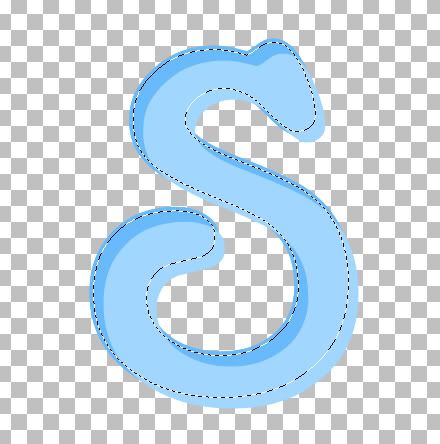
This is a bit confusing to look at, but your marching ants will stay in place, but the light blue that is OUTSIDE of the march ants is going to be our blue highlight.
9. Hit the delete key on your keyboard. Everything that was INSIDE the marching ants should have disappeared and left just what was OUTSIDE.
10. Go up to the "Selections" tab and choose "Select None".
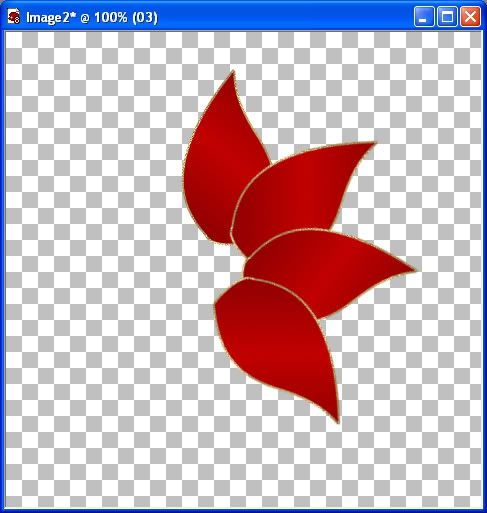
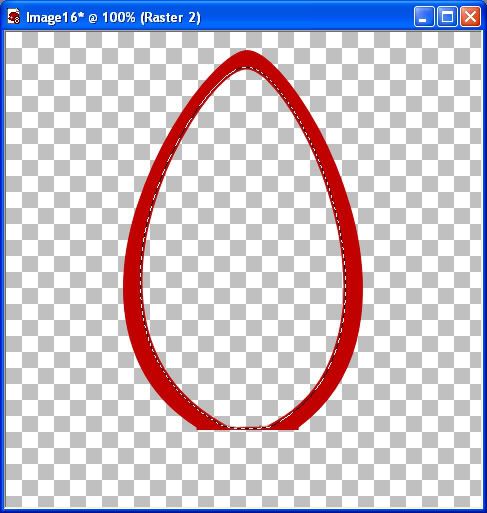
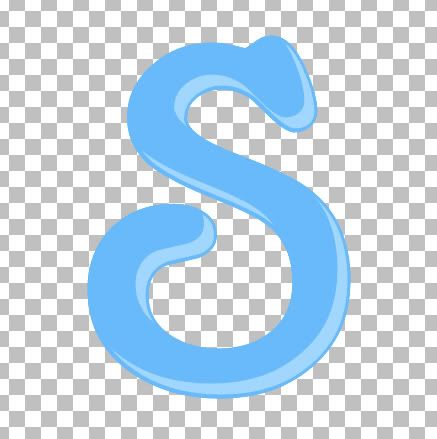
11. Place your cursor on the light blue layer and push it back into place in the S. Because we've contracted the image by 4 pixels, it will be slightly smaller than the darker blue S, so place it like in the picture below, leaving a bit of darker blue showing around the edges.
12. With your Light Blue layer active, go up to the "Adjust" tab and choose "Blur", then choose "Gaussian Blur". Set the radius number to 3 and hit OK.
13. In the layer palette to the right, click on the S layer to make it active. Go up to the "Selections" tab, choose "Select All", up to the "Selections" tab again, choose "Float", back up to the "Selections" tab and choose "Defloat".
14. Next, go up to the "Layers" tab and choose "New Raster Layer". Name this layer White and move it to the top above the other layers.
15. Go up to the "Selections" tab and choose "Modify" then choose "Contract". The number should still be set at 4, so hit OK.
16. Change your foreground colour to white, and flood fill this layer with white.
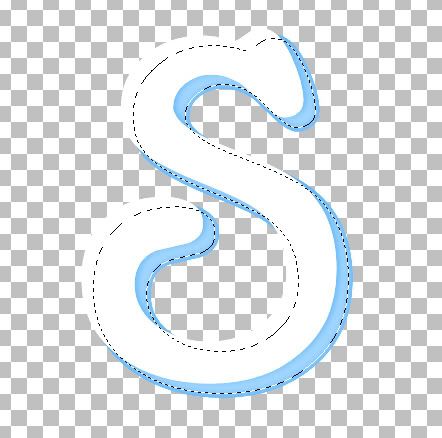
17. Switch to your mover tool, and move this layer upwards a bit like in the picture below. This is going to be what give the image it's shine, so we want to make it a bit bigger than we made the light blue highlight layer.
18. When you've done that, hit the delete key, and move it into place in the S like we did before.
19. Go up to the "Selections" tab and choose "Select None".
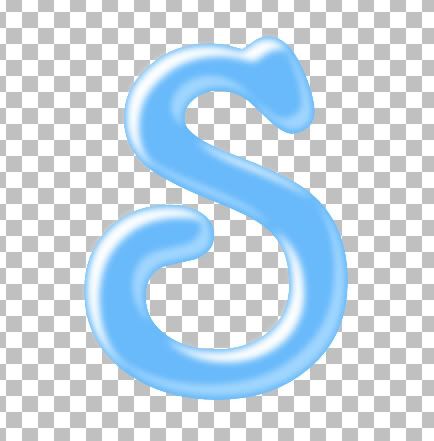
20. With the "White" layer active, go up to the "Adjust" tab then to "Blur" then to "Gaussian Blur", and change the number to 3.50, and hit OK.
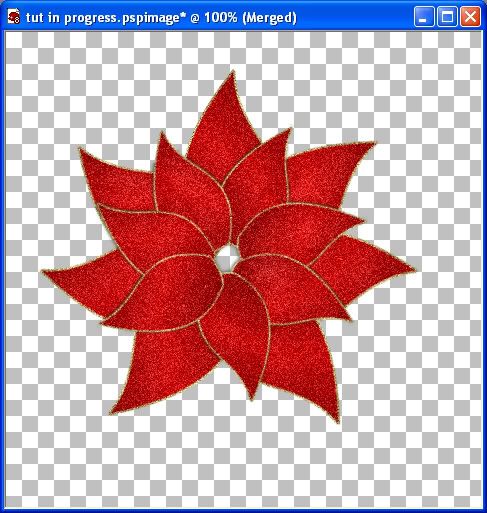
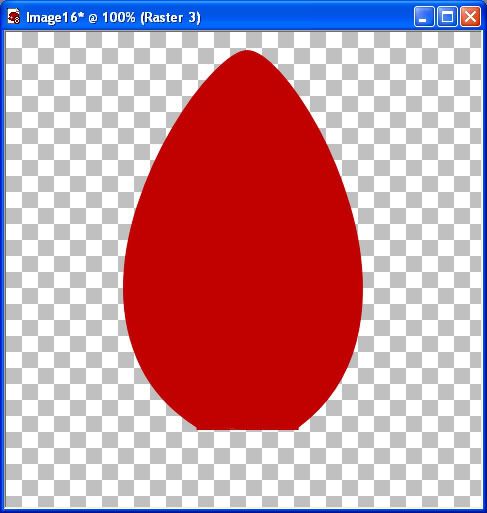
This is what you should have so far
21. In the layer palette, click the Eye icon next to the S layer to turn it off and right click on any of the other layers and choose "Merge" then "Merge Visable" to merge the 2 highlight layers together.
22. Click the X over the S to make the layer visable again, and this time, click the Eye icon over the "Merged" layer to hide that one.
23. Click the S layer to make it the active layer.
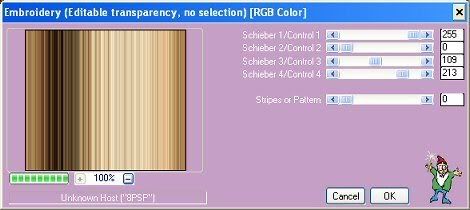
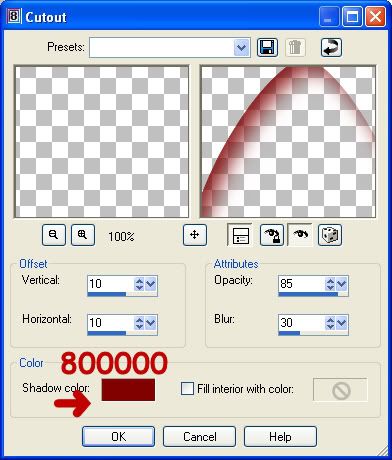
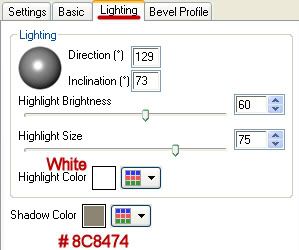
24. Here's where EC5 Impact comes in. Go up to the "Effects" tab, then down to "Plugins", then find your "Alien Skin Eye Candy 5 Imapct" from the flyout and choose "Bevel". Use the settings below:
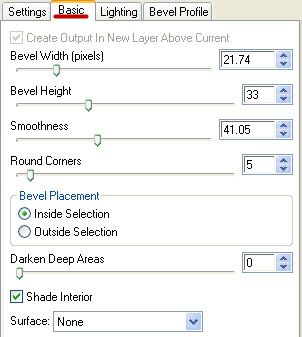
In the "Bevel Profile" tab, the bevel I used was "Button".
25. Unhide your Merged layer in the palette, and merge your 2 layers together using the "Merge Visable" command.
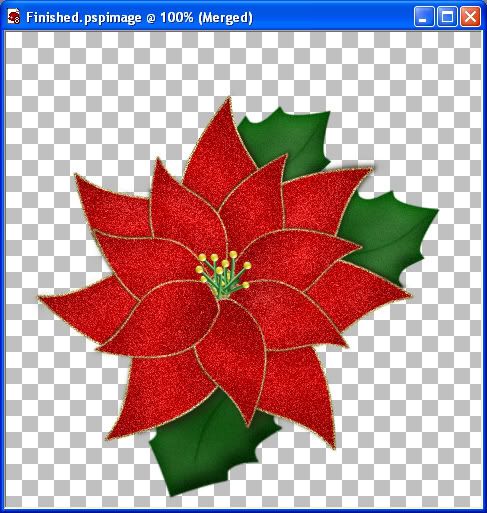
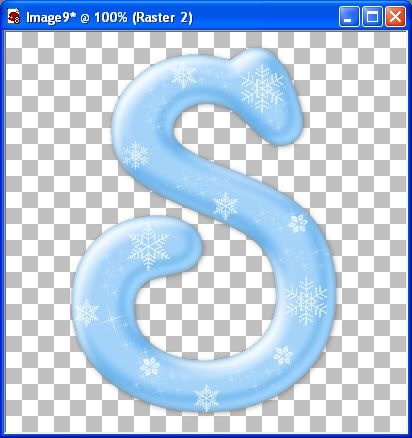
26. Now create a new layer, and with the snowflake tubes from the zip file, start placing them on your image as you like.
That's it, we are done :) It was kind of a long tut, but worth the effort I think.
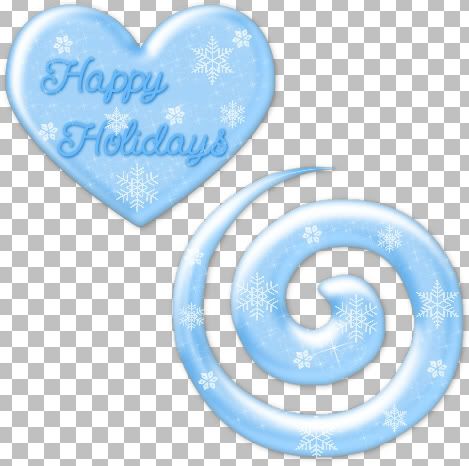
Hearts and Swirls
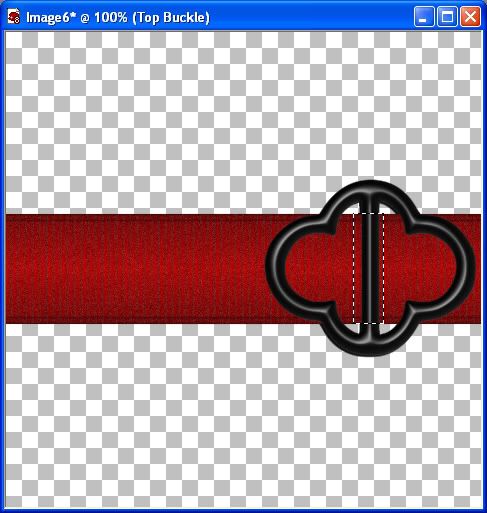
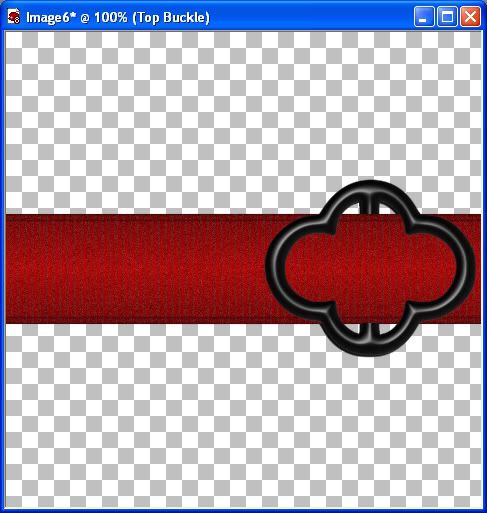
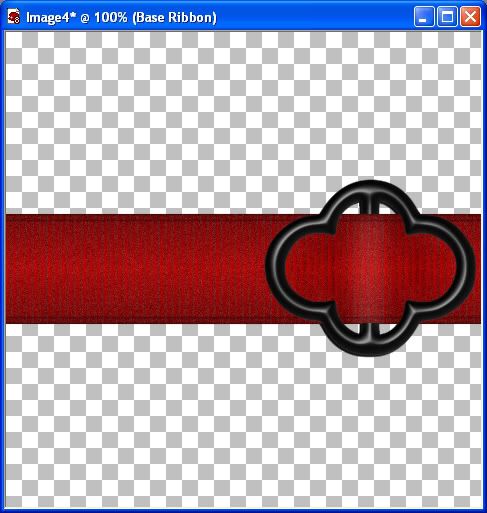
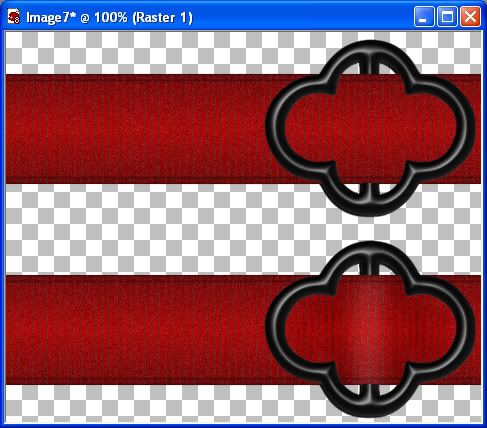
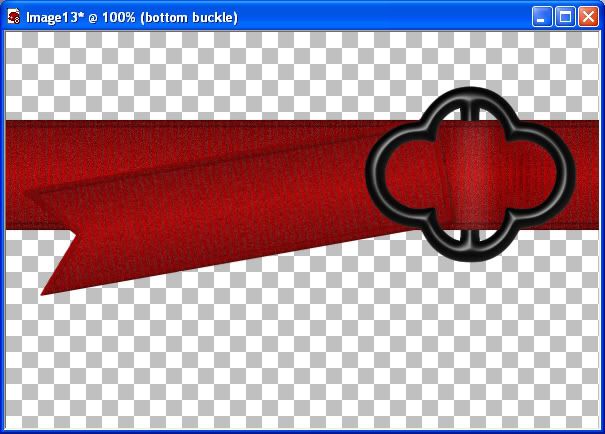
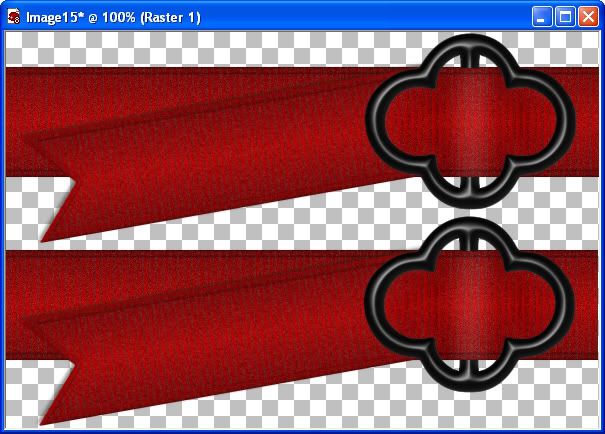
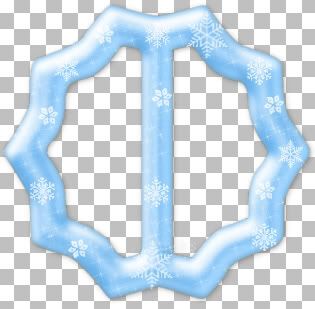
Buckles
Arrows
TOU:
If you do this tutorial, your end result is yours to do whatever you wish; give it away as a freebie, use it as part of a kit, or sell it for profit. You may not make this into an action or script to give away as a freebie or to sell for a profit. A mention or a link back here would be appreciated but is not mandatory. Please do not share the supplies or tut through email or any other means, send them here to my blog to get the supplies and tut for themselves.